mattsPVC
Member
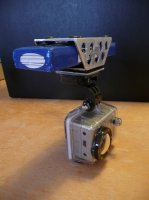
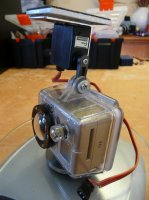
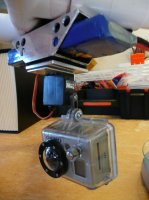
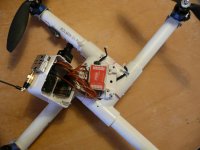
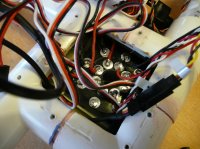
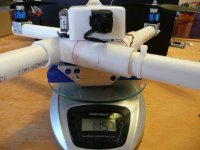
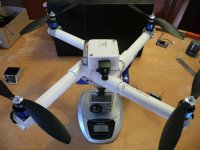
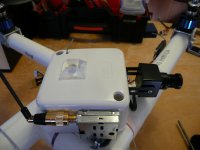
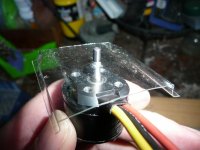
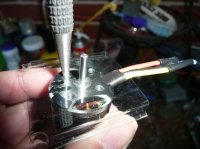
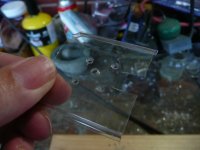
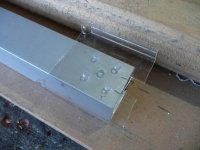
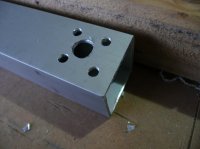
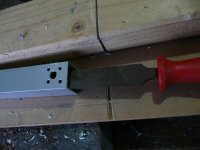
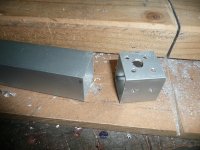
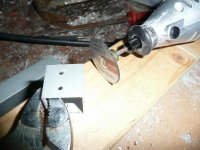
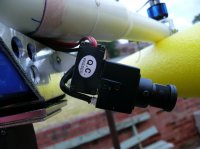
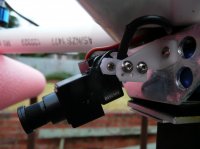
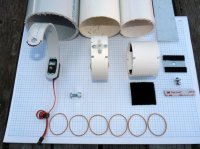
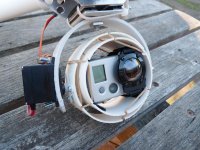
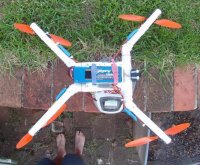
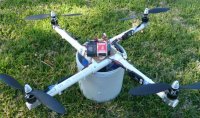
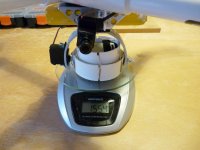
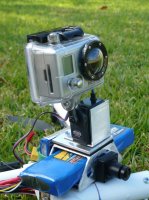
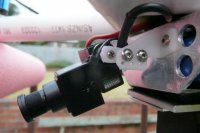
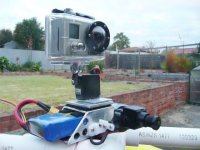
Basic Gopro Tilt Mount
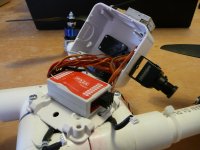
Made a basic tilt mount for my Gopro camera, used an old analog servo.
Will try a new digital servo to see if it is any smoother in its action.
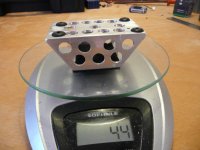
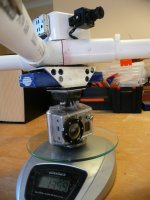
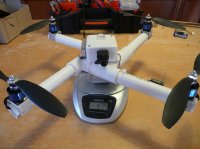
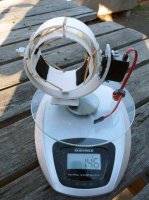
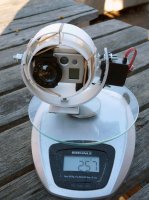
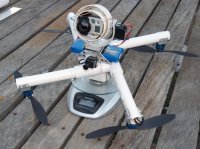
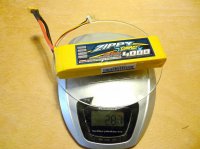
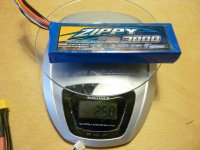
All up weight with this mount is about 1500grams.
Getting about 6-7 minutes flight time.
A NEW IMPROVED MOUNT ON PAGE 4
View attachment 4355View attachment 4784View attachment 4782View attachment 4783View attachment 4356
Made a basic tilt mount for my Gopro camera, used an old analog servo.
Will try a new digital servo to see if it is any smoother in its action.
All up weight with this mount is about 1500grams.
Getting about 6-7 minutes flight time.
A NEW IMPROVED MOUNT ON PAGE 4
View attachment 4355View attachment 4784View attachment 4782View attachment 4783View attachment 4356
Attachments


Last edited by a moderator: