first build thread: lessons and learning to follow...

jbrumberg

Member
I do all my battery charging indoors under supervision in a relatively fireproof area. I have been storing all my LiPo's and LiFe's batteries indoors at either discharged states or storage charge states in a metal box. I was storing them in my wood stove, but that is in use this time of year. I may keep a couple of 1S LiPo's charged and ready for action if I anticipate use in the near future. I do not think these Li types of batteries would tolerate storage in the outdoor temperatures typical of a New England (USA) winter. An idea I read about involved storing batteries in a metal canister such as yours and having a bag of sand resting on top of the batteries so if in the event of a fire the plastic bag containing the topping sand would melt causing the sand to smother the burning LiPo batteries. LiPo batteries really do not need an additional air supply to burn. What one needs to do is contain the fire.

PS: We got 8" of snow here with the sleet topping down here.
 

Motopreserve

Drone Enthusiast
That makes sense about the "burn bag" of sand on top. I think I'll try that when I get the charging bags I ordered today. Hopefully they come quick to quell the paranoia! I saw a good post about using an Army ammo box from the thrift shop. That seem like a no-brainier since it was probably designed to take a beating and potential accidents with live rounds. Keeping an eye out for one of those.

The storage function on this Accucel-6 takes forever. I stopped it last night at 3.88v when I went to bed. Started again this morning and it's still going. The battery was almost fully charged though - since I only used it for a couple tests.

No outdoor testing for me any time soon....

 
Last edited by a moderator:

Motopreserve

Drone Enthusiast
Rx Rabbit Ears....from the exotic Far East...

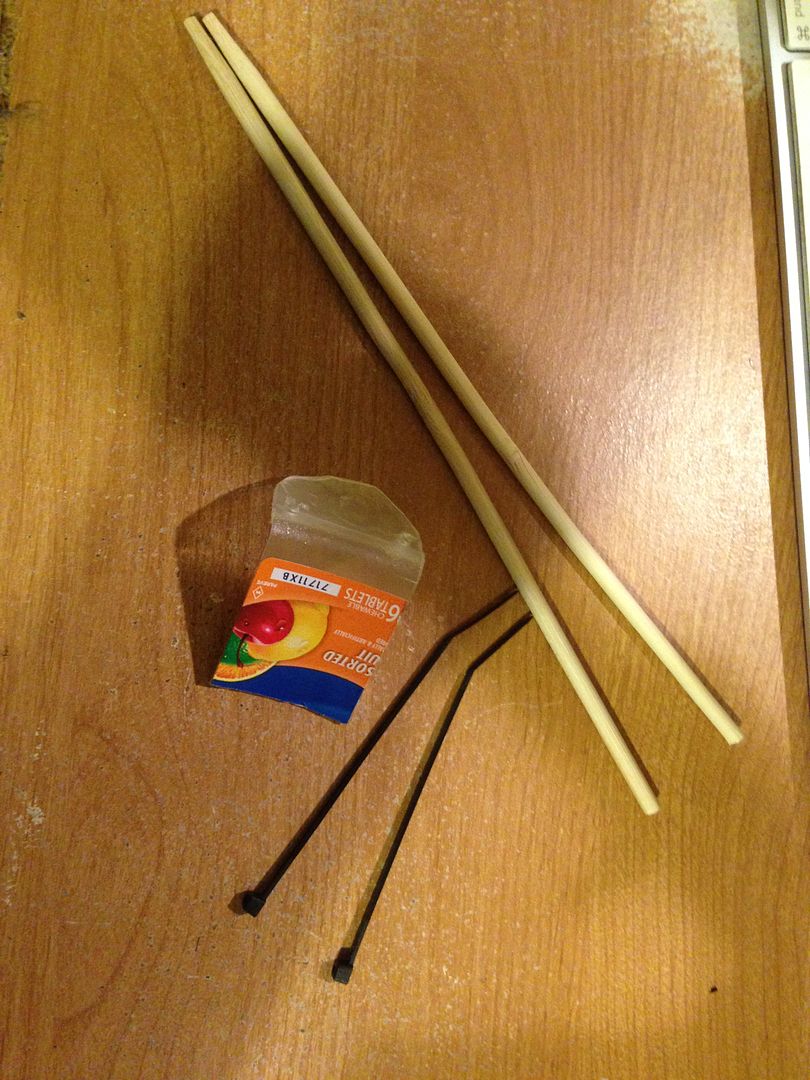
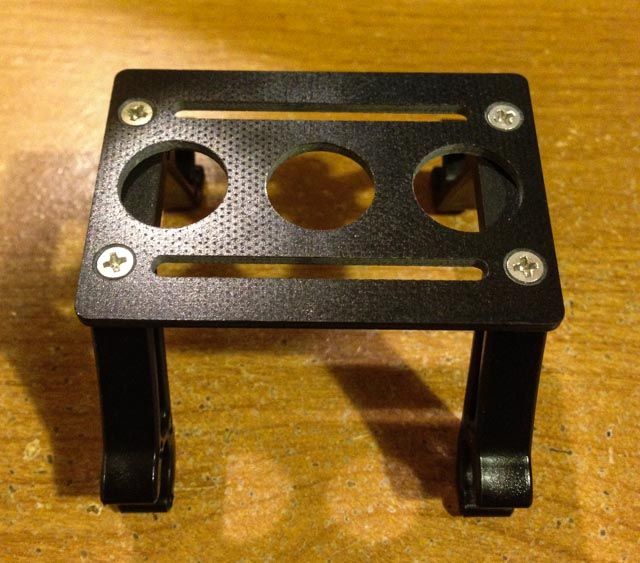
In keeping with the 'Far East' build theme, kicked off by the look of the GPS backplane provided by Ready To Fly Quads, I decided to make the Rx antenna rabbit ears out of chopsticks...

I had read somewhere that people had used household recyclables to make the mount - so i jumped on the bandwagon (or rickshaw as it were) and grabbed an empty plastic Tums bottle (this build has been driving me to heartburn!). The bottle was cut to make a right angle, leaving enough material to poke some holes in the bottom for adhering it to the frame with some zip ties...


A few cuts later, and I had the makings of an antenna mount, complete with chopsticks for the rabbit ears to hold the antenna at 90 degree angle and the zip ties to keep it attached to the frame...


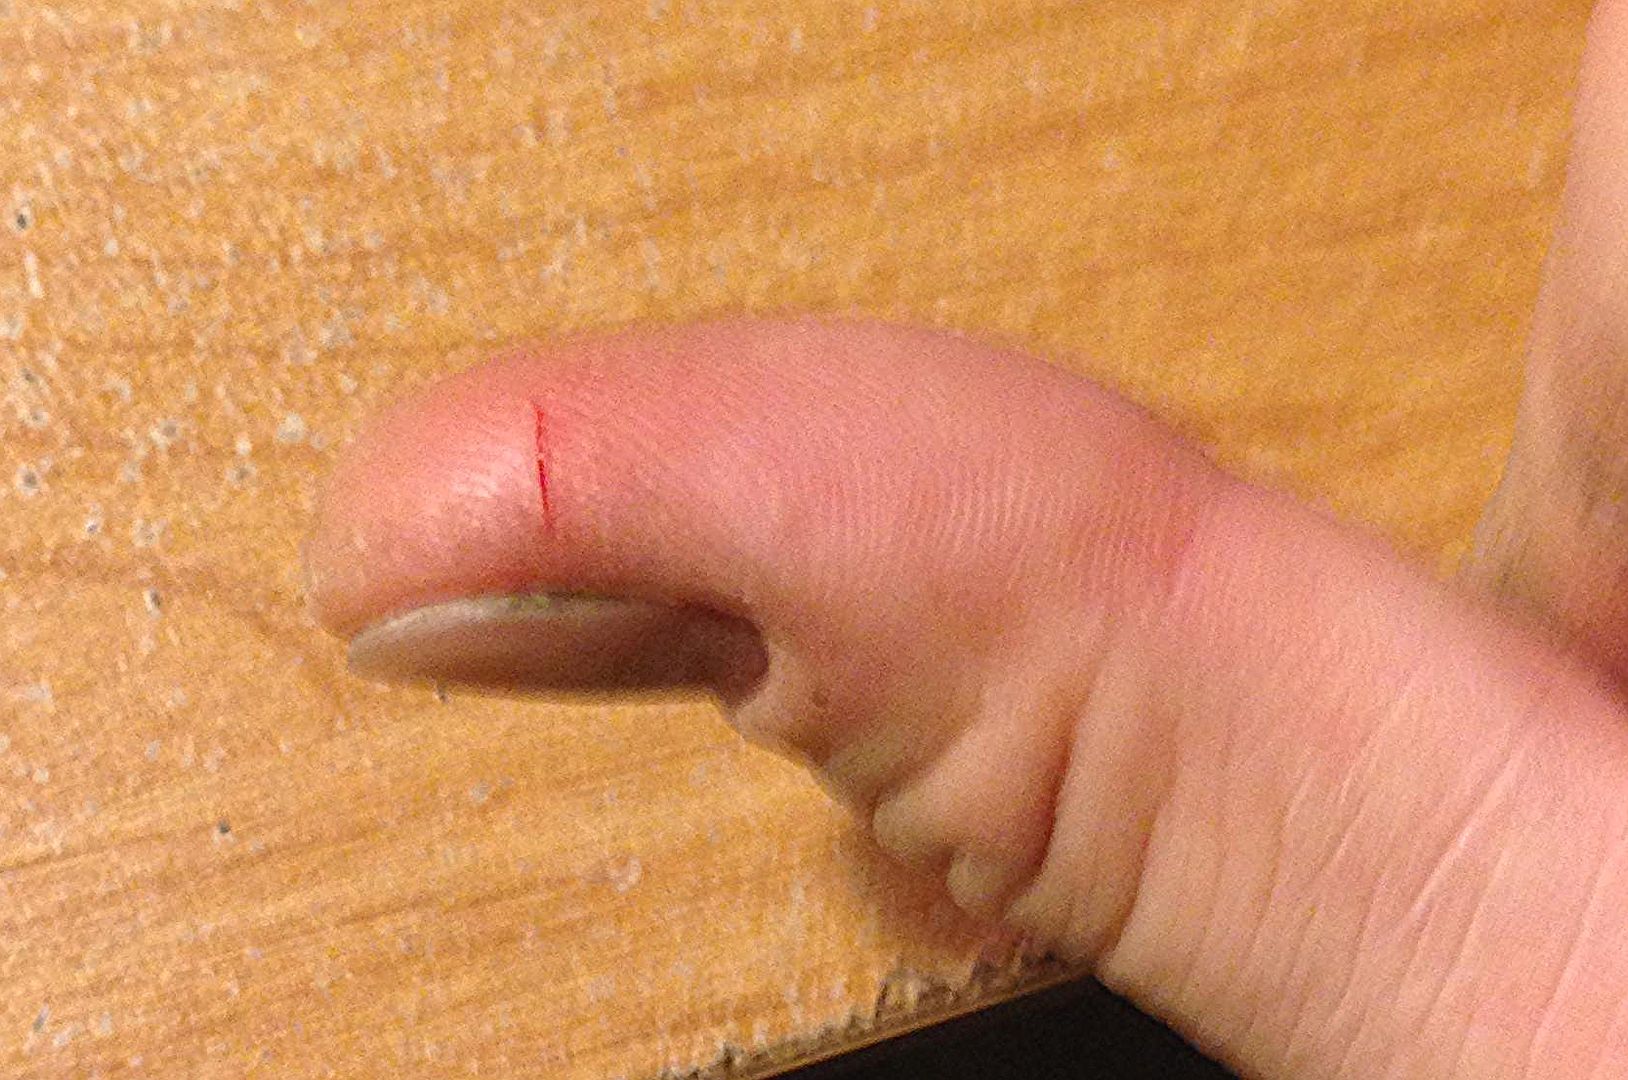
Unfortunately, I didn't mean to cut my own finger while cutting the Tums bottle to shape. No need to panic, it all worked out in the end once I realized there was no need for stitches...


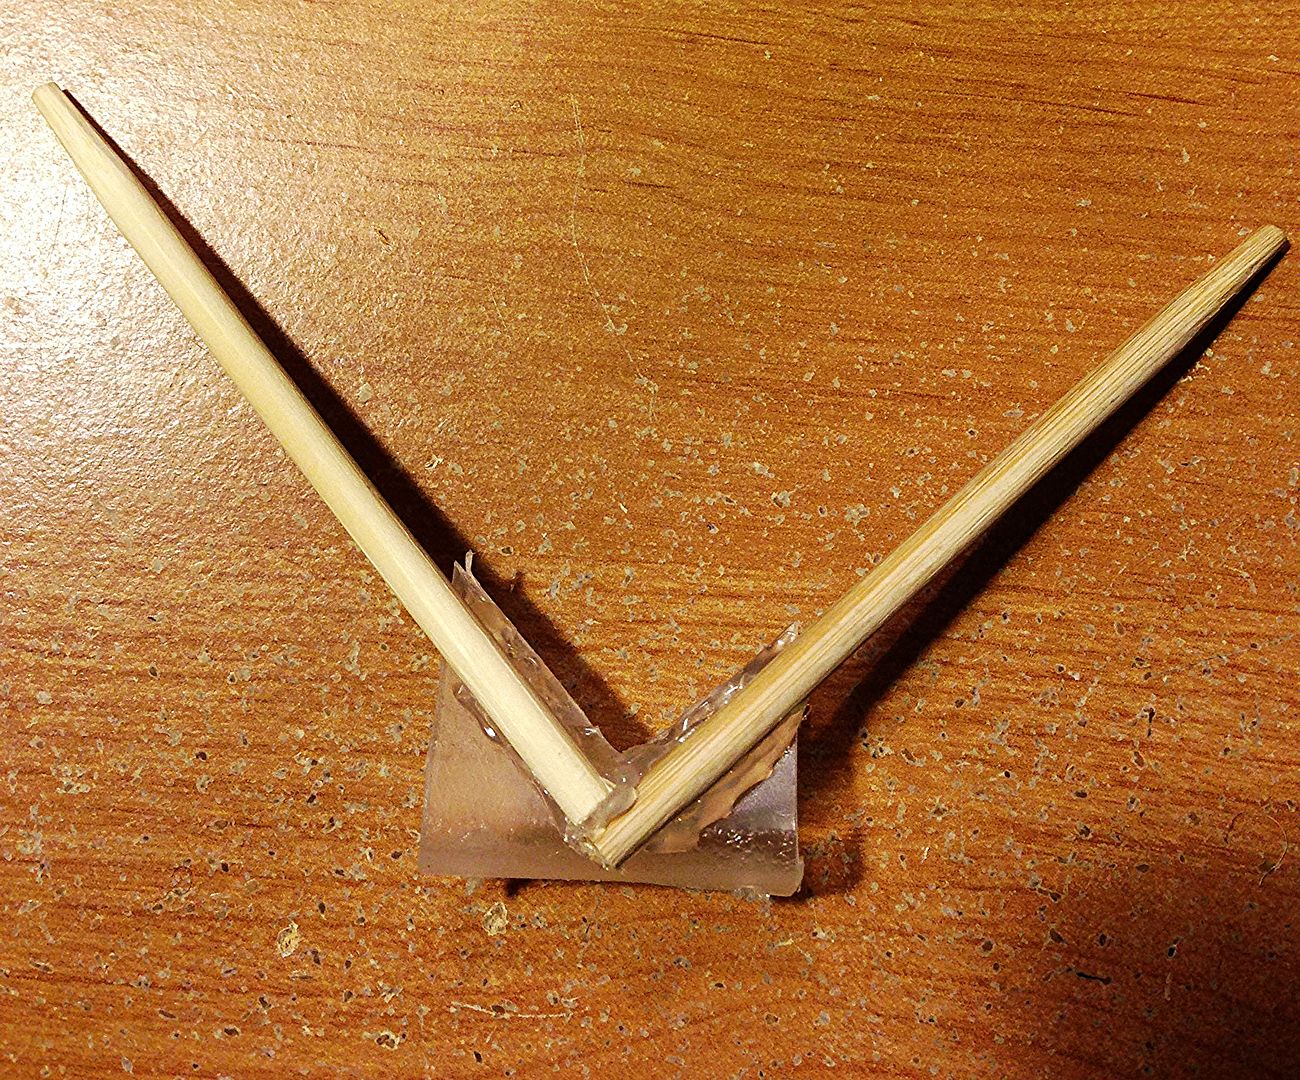
Here is a picture of the rig after using hot glue to solidify the chopsticks to the plastic part. I had previously glued the 2 pieces of sticks together at a right angle, and then slapped that on the plastic.


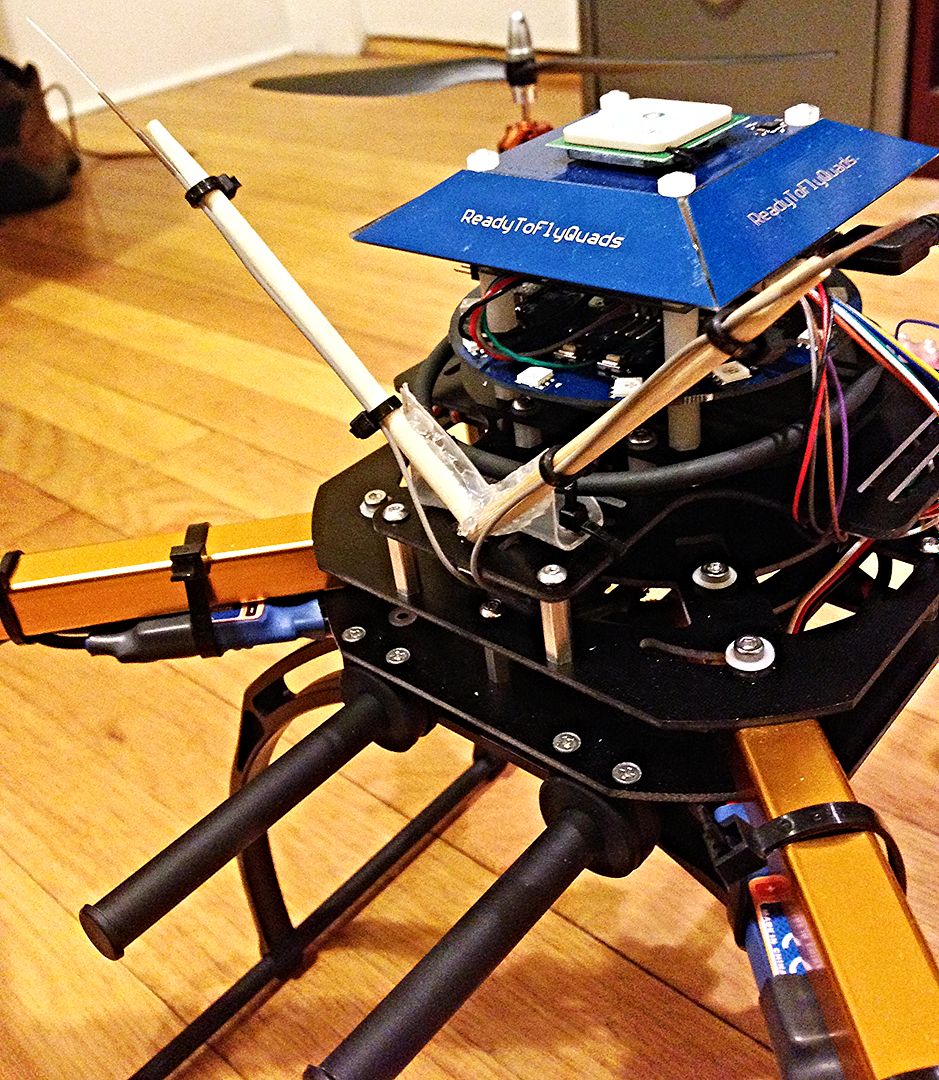
And on the quad...


jbrumberg

Member
And all in - less than 6 grams added weight :)

There is a reason for all those pre-made "after-market" attachments for the "attachments". Somewhere really smart people figure this stuff out. We (you, myself, a gazillion others) are just DIY-type individuals with some really good ideas, plans, etc., using recyclable parts who due to our experiences create medical risks/costs for ourselves that leads to (learning for some) opportunities (for others) product development and sales opportunities. And hopefully relatively "easy to install" components for (probably more intelligent) other individuals. Or RTF, BNF, ...
 
Last edited by a moderator:


jbrumberg

Member
Almost all DIY projects involving physical activity (and sharp objects) create the potential for medical risk and injurious consequence. I prove it with great frequency. I can even hurt myself thinking.
 

Motopreserve

Drone Enthusiast
Almost all DIY projects involving physical activity (and sharp objects) create the potential for medical risk and injurious consequence. I prove it with great frequency. I can even hurt myself thinking.

Fair enough. :). I'm just hoping I don't cause OTHERS serious risk or injury! I'm thinking the props will get them (or me!) before the chopsticks do!

i am feeling pretty confident about my testing period up here in my new home of Vermont, considering my neighborhood in Brooklyn housed more people than live in this entire state. Hoping I can find a field (or twelve) all to myself... :)
 

FlyGirl

Member
Fair enough. :). I'm just hoping I don't cause OTHERS serious risk or injury! I'm thinking the props will get them (or me!) before the chopsticks do!

i am feeling pretty confident about my testing period up here in my new home of Vermont, considering my neighborhood in Brooklyn housed more people than live in this entire state. Hoping I can find a field (or twelve) all to myself... :)

Haha!!!!! Perfect Moto!!! Great job! And that Xacto bite on your thumb probably still hurts. Damn things are like big paper cuts... ;)

Now you have to give it a proper Asian name to go with the Japanese Garden theme ;)
 

jbrumberg

Member
Scott- I was remiss in not complimenting your handiwork- good work. :nevreness: It's unfortunate your risk taking DIY behaviors led to self-injurious consequences. :( It's too bad that you are so far north of my location here in western MA. You have an invite to my private 5 acres of open airspace. I do have and the field is surrounded by formidable woods :mask:. I still have a MIA RC helicopter and a quadcopter. I will never find them.:heart-borken:
 

Motopreserve

Drone Enthusiast
Thanks so much J! I wasn't fishing for compliments - but I'll take 'em :)

I may take you up on the offer some time. I feel that after my initial tests to make sure the multiwii is set up correctly, it would probably be advantageous to fly with someone who has experience. I did see there is one member in the Burlington area that I need to reach out to. Maybe a chance to meet like-minded people and get some tips.

The injury I got yesterday was nothing but annoying really. Didn't have the right tools at home (most of them are at the motorcycle shop) - and certainly didn't think my leatherman was this sharp!

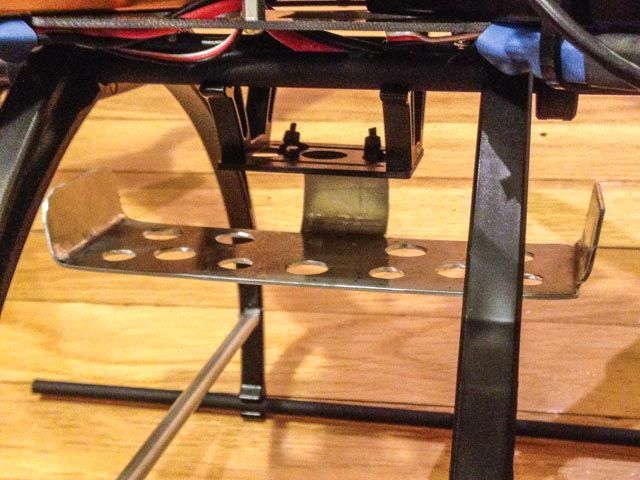
Got a chance to make a battery holder today from some aluminum stock I had lying around the shop. My first attempts to secure the battery to the provided "tray" supplied with my frame left me feeling insecure when it seemed the battery easily slid back and forth. This DIY tray should hold it better - and I rounded the edges to avoid injury!!! :)

Post to follow...
 

Motopreserve

Drone Enthusiast
Battery Tray Mod...

The stock battery tray that came with the HK x650F frame was a bit lacking. It's designed to hang under the center, keeping the COG in a decent place. I tried securing the battery to it with standard Velcro straps, but the battery slid back and forth too easily for my liking. Time for something to secure it better...


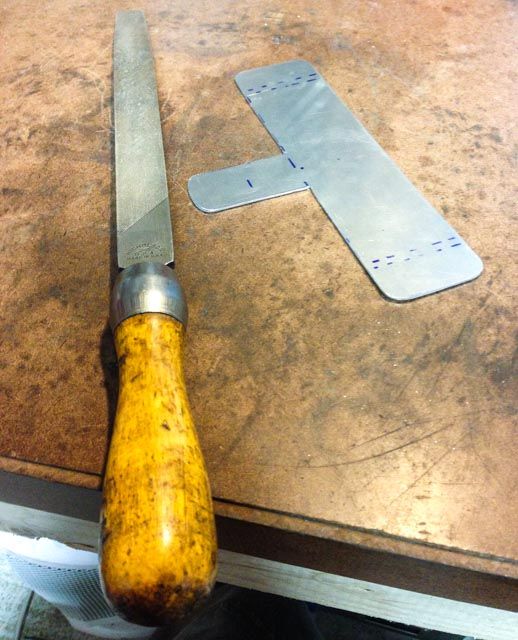
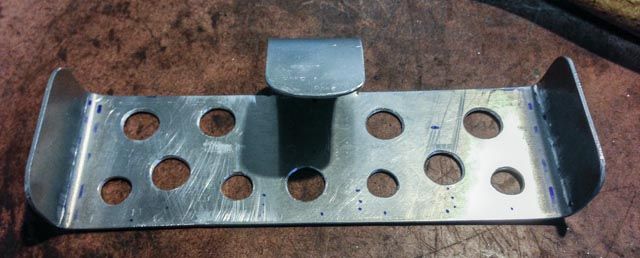
Unfortunately the only aluminum I had lying around was a little thicker than I wanted which made the total added weight 44 grams. I randomly drilled some holes to lighten it, and if the tray concept works out, I'll make sure that the final version is lighter still. Started with a blank sheet, cut the shape on the vertical bandsaw, rounded the corners on the belt sander and then filed a bit to smooth the rough edges...


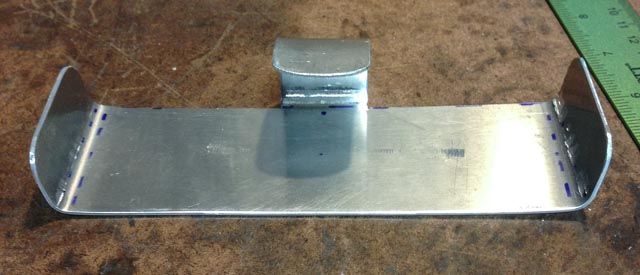
I used a metal break to bend it to shape. And then the drill press for the holes to take some weight off...


If I decide this tray works, I'll certainly make it lighter, but also spray it with some paint to make it match the rest of the quad. I found a Rustoleum product that I use on motorcycle parts sometimes - an epoxy spray paint for appliances (the photo on the can is of a refrigerator), which protects about as close to powdercoating as you can get, at about 1/100th the price. Good and strong...

Here's the tray on the quad. Center of gravity should be well maintained...


jbrumberg

Member
That's cool. Good work. You may still end up using velcro on the tray and the battery itself, and the velcro tie down strap. I've used velcro tape on LiPo batteries (2S) without problems. It's on all my 1S batteries.
 

Motopreserve

Drone Enthusiast
That's cool. Good work. You may still end up using velcro on the tray and the battery itself, and the velcro tie down strap. I've used velcro tape on LiPo batteries (2S) without problems. It's on all my 1S batteries.

it will definitely still have the Velcro straps. But hopefully this thing will help secure the ends. I thought about putting Velcro right on the battery - but this one I'm using is 300 grams, and I'm also paranoid about damaging these 'bombs in waiting' :)
 

COMike93yj

Still Building!
Excellent work Scott! Out of curiosity, are you planning to do any aerial video with this now? The only reason I ask is that I am unsure where you would mount a GoPro type camera on this setup with the battery box on the bottom such as it is. It is tough for me to judge scale in pictures but it seems like there wouldn't be enough room below or am I mistaken?
 

Motopreserve

Drone Enthusiast
I am definitely planning on doing video. This quad has the boom under it that extend forward and behind the center position for mounting cameras.

Not sure if I would need to balance the weight at that point with something on the back. Cross that bridge when I get to it. Actually, a battery would handle that on the back since these massive 5000mah batteries are about the same weight as a gopro!!!
 

Motopreserve

Drone Enthusiast
Landing Gear Braces...

Did a couple more things for the build. Simple stuff really, but sometimes it seems those are the most important details...

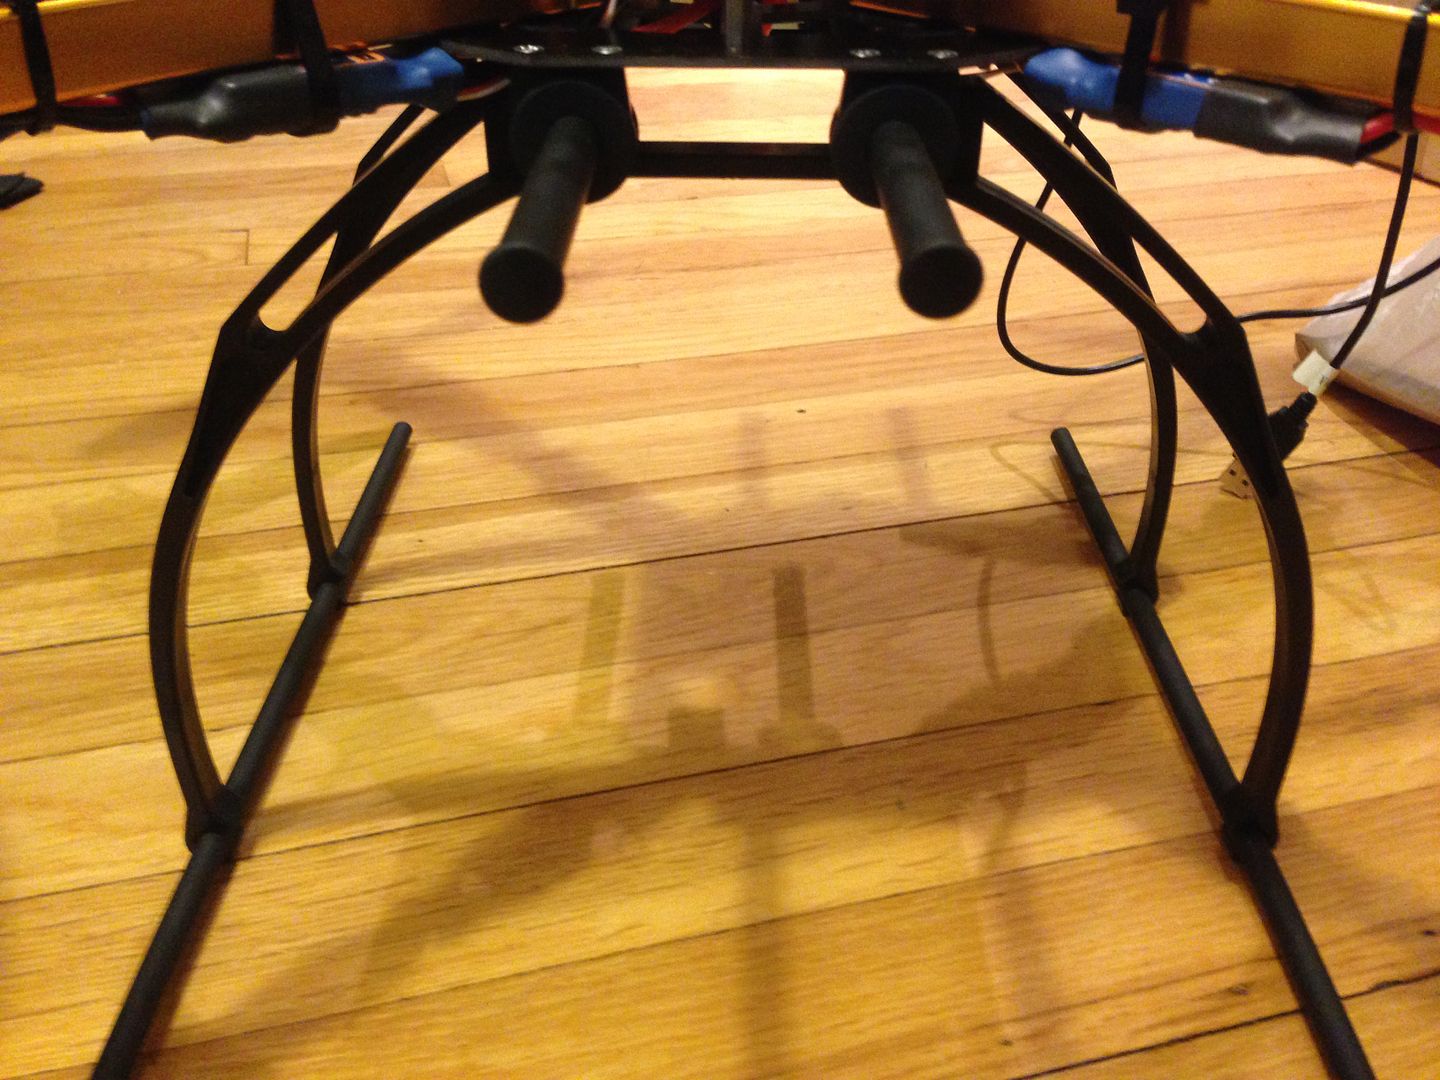
When I got the quad frame it all looked fairly rigid. But when I tested the motors, I noticed a huge amount of flex as the copter tried to lift off, and settled back down. I remembered reading that a user thought the landing gear should be strengthened somehow (I think he meant by the factory). So I took it into my own hands to tighten it up just a bit. The photo below shows the stock setup:


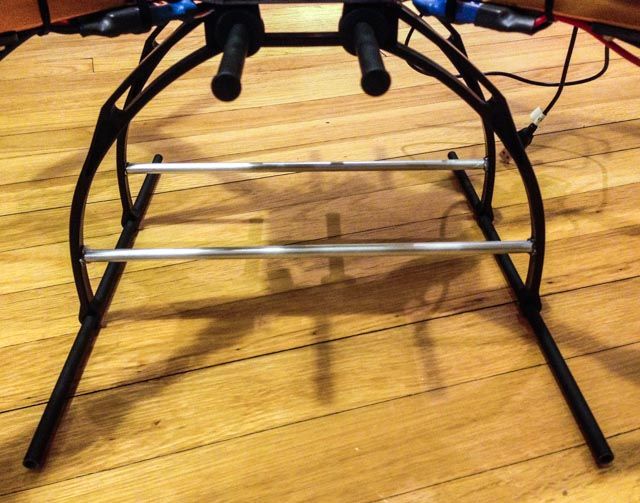
I grabbed a length of aluminum bar from the local hobby shop (I was lucky to find this - the selection is abysmal!). Cut it to length and used some hot glue to attach it between the two legs.

Turned out looking like this:


It's definitely more rigid, but not so much that I shouldn't be able to land this craft with a little give on hard surfaces without jarring all the electronics...
 

COMike93yj

Still Building!
Looks great Scott! I am not a Hot Glue type of person....LOL. Most of my hot glue stuff comes from me fixing my wife's Christmas decorations :) I would be a bit concerned that the glue may not hold up in a landing (hard). You might be able to drill a tiny hole in the aluminum and perhaps the frame to allow small zip ties to keep it from coming loose.

Are you planning on putting a camera under this?
 

jbrumberg

Member
Good stuff Scott:). Cross braces should help increase structural strength. I should start taking pictures of my build. So far there is not much to show other than my rearrangement of the stock 4mm CF landing skids which I used for cross braces and a couple of extra 4mm CF struts that I ordered as a start for landing gear mods. Those cross pieces really stiffen up things. I will be hot gluing those connectors once I am satisfied everything is working to satisfaction. This setup is really lightweight. This may or may not be a good thing We'll see where I end up with this landing gear setup.
 

Attachments

  • DSC01582.jpg
    DSC01582.jpg
    147.6 KB · Views: 341

Top