Yes, its another Tarot 680 PRO build

Just got confirmation from ZTW that the v2 product isn't running SimonK firmware (even though the packaging say it does). So buyer beware, you may have to reflash it with SimonK or BLheli, unles of course their firmware works.
 

Motopreserve

Drone Enthusiast
Just got confirmation from ZTW that the v2 product isn't running SimonK firmware (even though the packaging say it does). So buyer beware, you may have to reflash it with SimonK or BLheli, unles of course their firmware works.

Bummer. But thanks for the heads up.
 

mdntblu

Member
Any updates on this? I'm curious what your flight times are with those 16000mAh batteries. I'm running 6000mAh ones and get around 9-10min flight time all loaded up with Gimbal and GoPro Hero 4 Black. Was thinking about getting the 8000mAh ones from Zippy or Multistar and seeing if I can get 16-17 min flight time.
 

Motopreserve

Drone Enthusiast
Sorry, this project dropped off. I'm about to refresh the whole hex and get her airborne again. In my testing, I got about 12 minutes with single 8000mah battery - so I would thing 15-18 would be within reach - depending on weight of the batteries.
 

mdntblu

Member
Oh ok. Maybe I'll buy some soon. What propellers are you using?

Sorry, this project dropped off. I'm about to refresh the whole hex and get her airborne again. In my testing, I got about 12 minutes with single 8000mah battery - so I would thing 15-18 would be within reach - depending on weight of the batteries.
 

Motopreserve

Drone Enthusiast
Sorry: I answered this last night thinking that it was MY tarot thread :)

So for clarification - my tarot project dropped off. My bad!

The following prop info is correct for me though.

I'm using wood props from xoar and HQprops (not recommended). Max size on tarot is 13" I think. That's where I was at last flight.
 
Last edited by a moderator:

I apologies too, as i hadn't really posted any updates for some time.

So as it stands, with gimbal, gopro 4 black, 13" tarot props etc.. i get at best 8 min 30 sec with the big 16000mah batteries. These to my mind now were an expensive mistake. I could never get more than about half the capacity out of them. I haven't accurately counted, but it would be less than 50 flights and these batteries are stuffed. they are puffed and barely hold any charge now.
Ive bought a nano-tech 6000 25-50c and a zippy compact 6200 40c battery to test with.

I'm also thinking of either jumping over to a DJI E600 propulsion (as others have had good success and upwards of 14-15min flight times with a nex style camera and gimbal. Or changing over to SunnySky motors and some higher end props.

The other path i'm looking at is rebuilding with the newer Tarot X6 frame, maybe some KDE motors, moving to 6s, etc... but this requires a lot more money.


RangeVideo branded ones. They no longer seem to make the 16000mah 4s one. They weren't selling Tattu batteries at the time i bought mine, if they did i would have gotten the Tattu ones.
 

Motopreserve

Drone Enthusiast
Tattu seem to be popular. I haven't tried them yet. Do you have a way to measure the internal resistance with your charger? I'd be curious to know what the reading is now on those Range Video batts.
 

No, my charger doesn't have that ability. I do need to get my self a new charger, one with more power as it takes about 2 hrs to charge the big 16000mah batteries.
 

Motopreserve

Drone Enthusiast
For any batteries that size (or even less) you'll need a charger that uses a separate power supply. They get pricey - but the time they save is amazing.
 

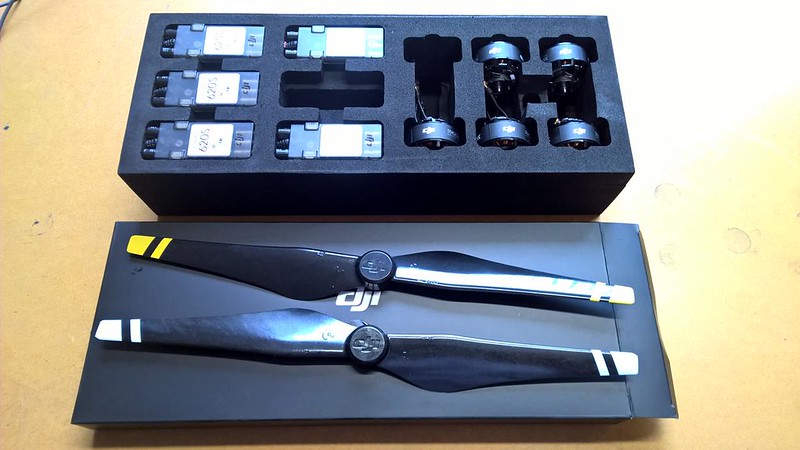
So ive made the decision to upgrade to a DJI E800 tuned propulsion. Never saw them announced, only noticed them a few days ago when i was looking up the E600. Should give me a bit more lifting capacity, performance, and hopefully longer flight times. Also hope the rumoured firmware update for the Naza to support the features of the ESCs happens.

With this i need to change to 6S batteries. Now some stupid D!ckhead(s) decided that nothing over 4 cells can be imported into NZ by usual freight (can still import by ship, just slow and harder to sort with online shops). So i'm going with using two 3S batteries in series. ive ordered two nano-tech 6000mah 25-50c 3s batteries to start with.


First step, build the arms.
I have a second/spare Tarot 680 kit which will come in handy to build the new arms without pulling everything apart from the current flying one.
Its a very nice kit, the quality just feels exceptional...


Plenty of cable length, even with the extended arms.


Just seeing how things are going to go together...


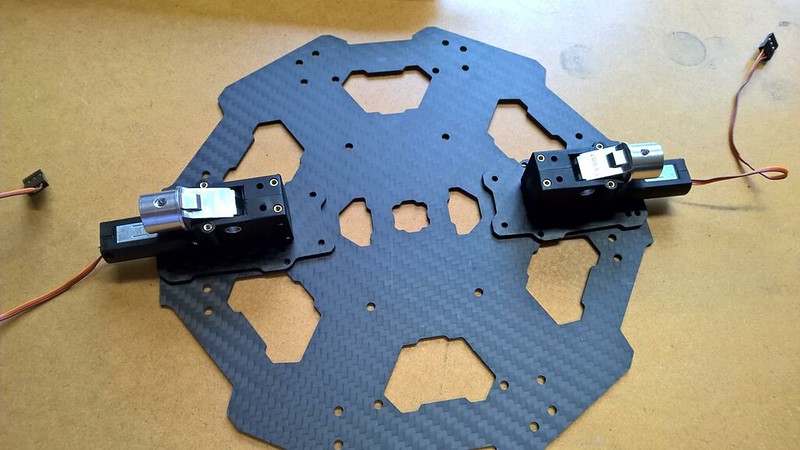
I also bought the Tarot retracts, however they only supply screws to fix the legs on and not anything for the retracts to the base plate. With the retracts sitting on their own peiece of carbonfiber the 30mm screws in the 680 kit aren't long enough to go all the way through, plus on the outside they screw into the standard folding leg mounts and on the inside they screw into a small aluminium arm which spans the two holes (my other kit actually had fixed nuts on the base plate instead). So for now i wont be putting the retracts on until i get some longer screws.


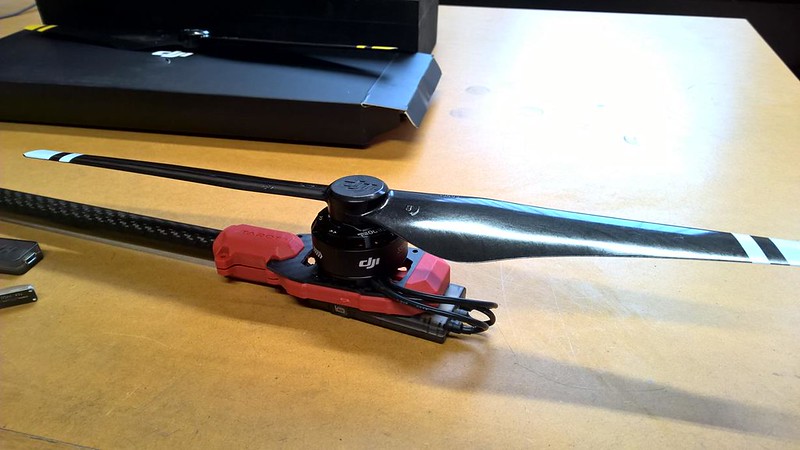
Side by side comparison of the 13" Tarot props and the DJI E800 13" props. Hence why i'm using the extended arms.


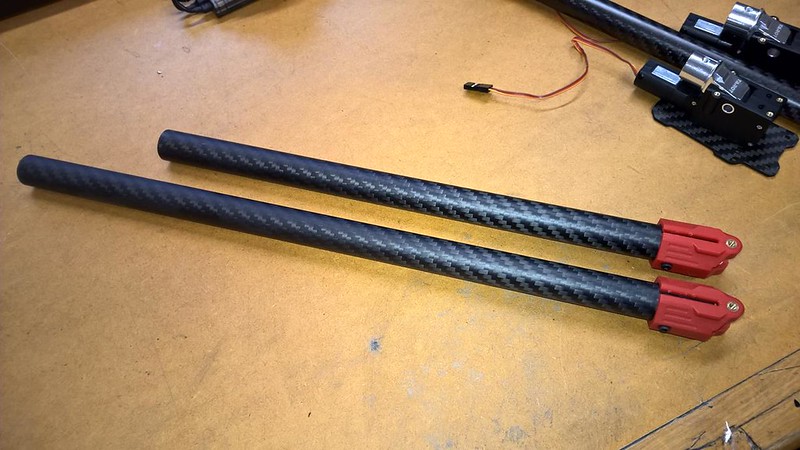
Comparison of the old arms and the new longer ones.
 

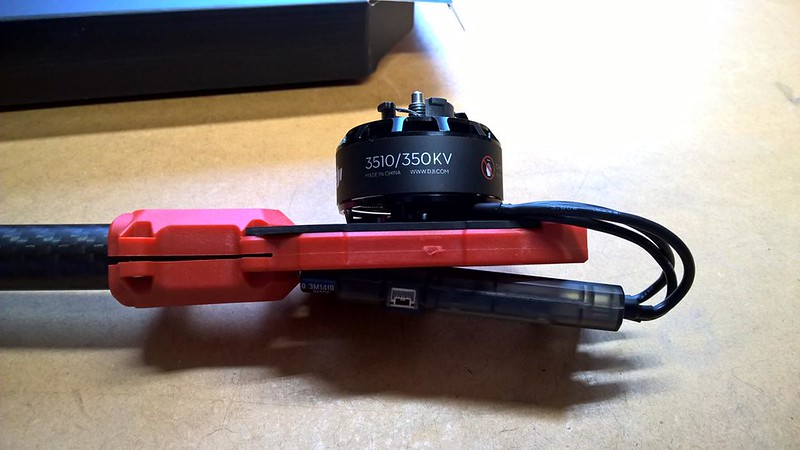
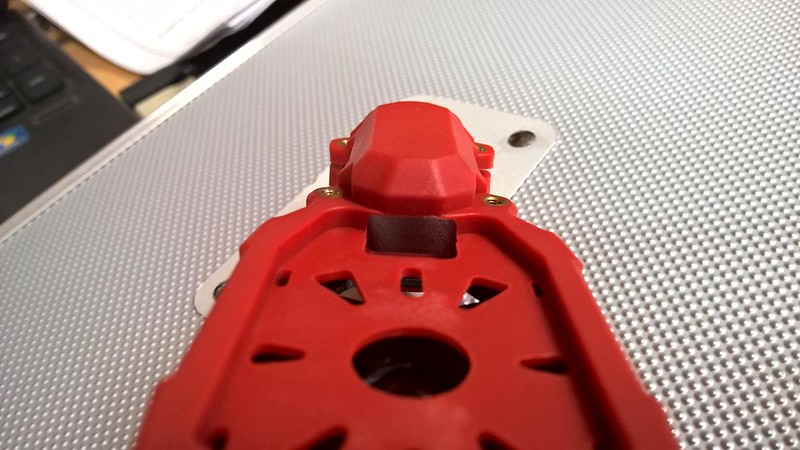
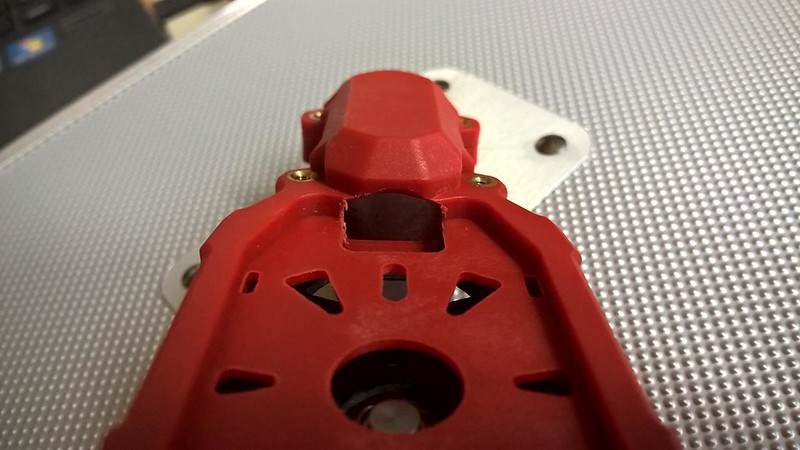
So first thing i noticed when putting the large ESCs on the motor mounts is that the mount itself has a sharp edge where the cable go through. The thin servo cables on the ESC werent going to last long, so i carved out the opening to take away the sharp edge. Also i found i can move the servo cable slight to the left or the right of the power cable to further reduce it rubbing on the mount.

Before:


After:

The likes of a dremel would be good for this if i had one, i just used my pocket knife.

The ESC now sits in a lot better, less strain on the cables and less likely to cut through the cable.


Mounting the motors with the provided plates gives you two options...
You can either mount the motor with the wires coming directly out the end (this is how ive done it). This way you only have two screws holding it on the plate.
the other way is with the motor wires coming out the side on a slight angle, this will allow 4 screws. I haven't gone this way as it puts strain on the motor cables to reach the ESC and also the wires come out right on top of where you need to mount plate to the motor mount itself.

 
Last edited by a moderator:

Arms are all prepped, ready for the next stage.


The hinge end pieces i removed from the original arms. Just need to remove the screw and use a flat head screw driver to twist between the slots on the hinge piece to break the glue.
Drilled holes in the new arms and attached the hinges. Didn't re-glue, the screw and clamp style of the hinge are strong enough.
 
Last edited by a moderator:

Just ordered a set of M2.5 x 35mm screws to fix the retracts to the base plate. May also look into just drilling some hole direct on the base plate and screw the retract directly in rather than using the plate it comes with.
 

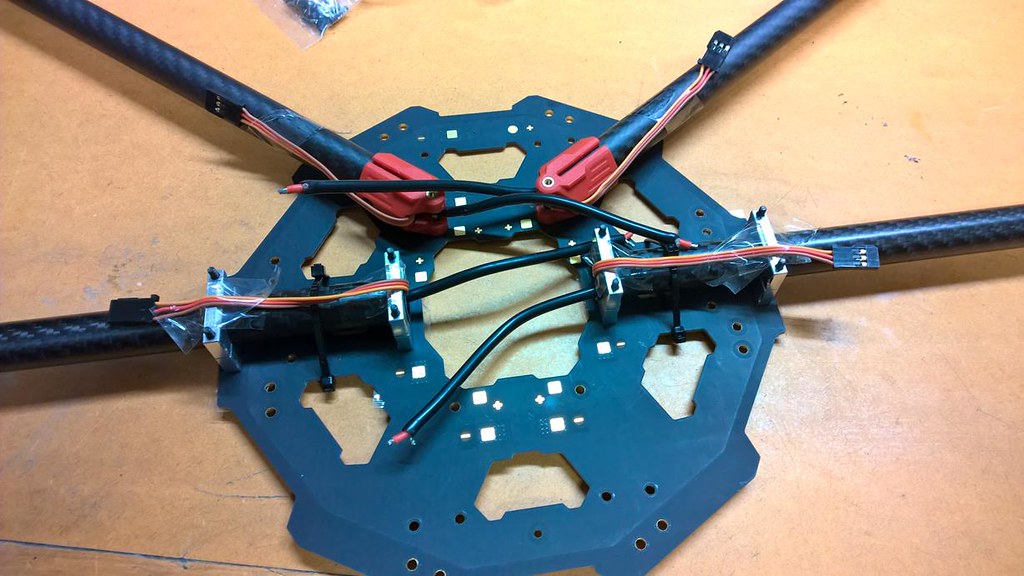
Little bit of progress.
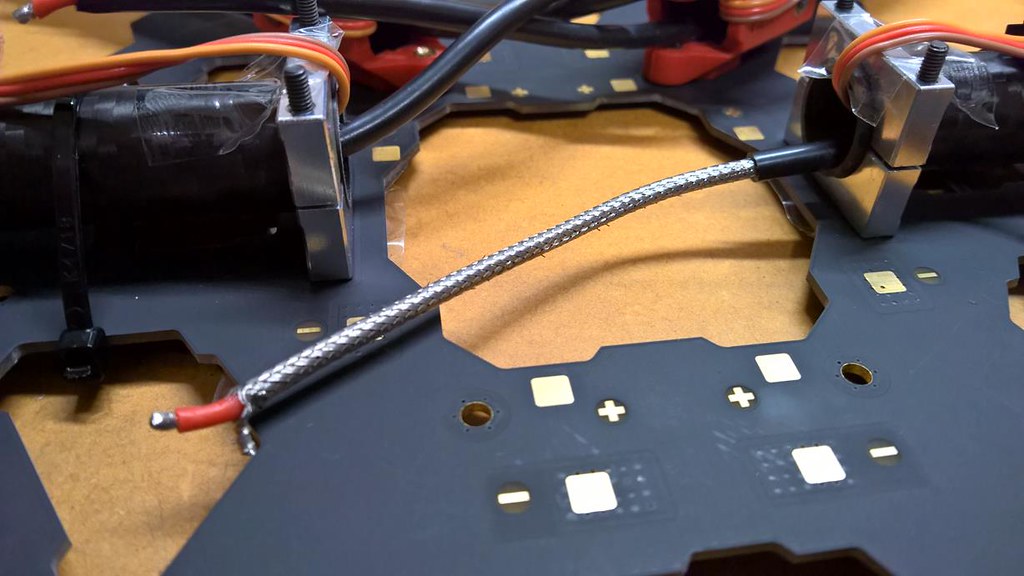
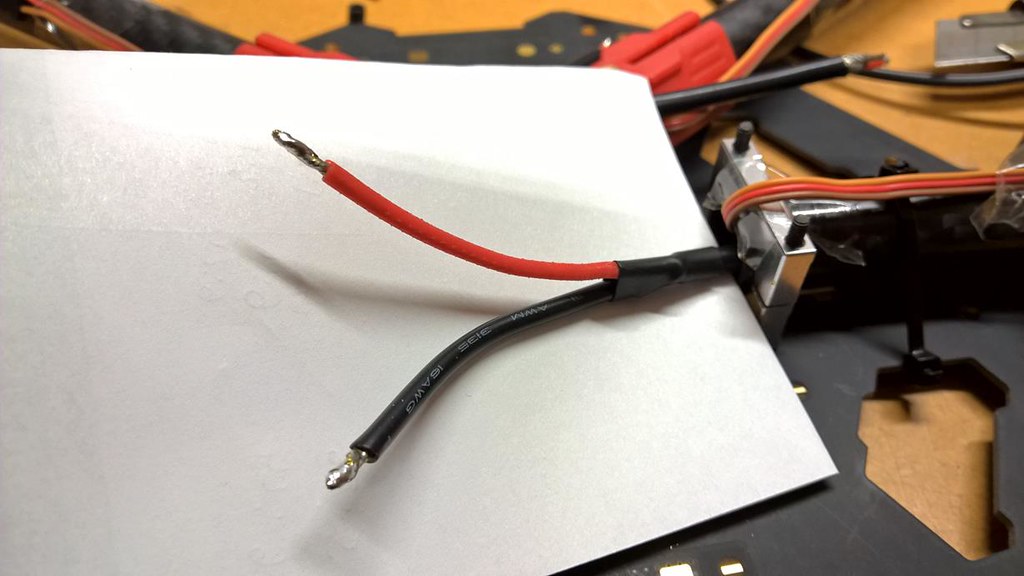
Trying to figure out the best way of separating and soldering the cable. Two individual cables would be much nicer as i'm using the built in power board/top plate rather than the little power board provided in the E800 kit.


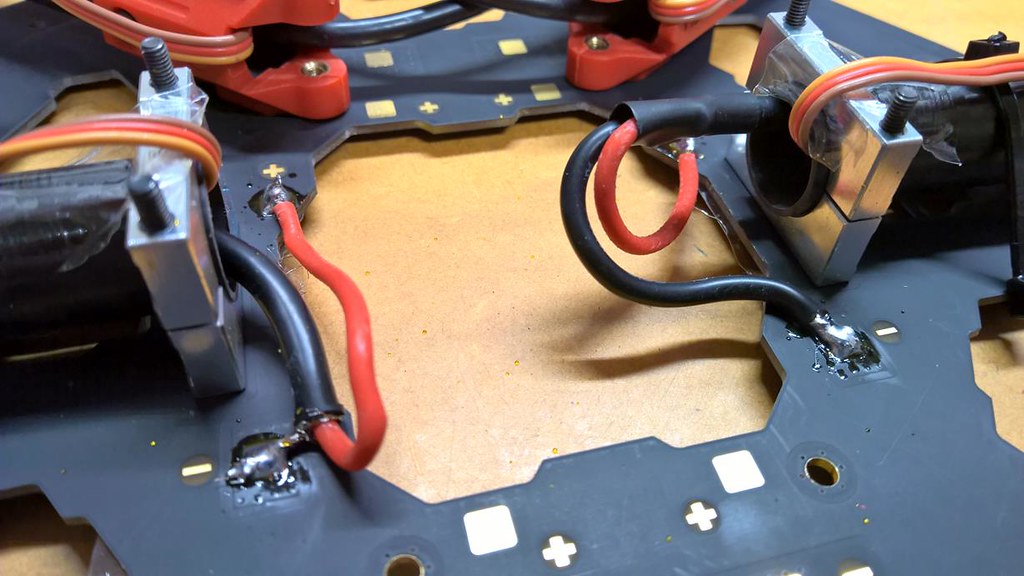
The coaxial type cable makes things a little tricky. I first tried with adding a bit of 16awg cable to make it separate, but that join with the heat shrink makes it to stiff to bend out of the way as the FC will sit in the center space.


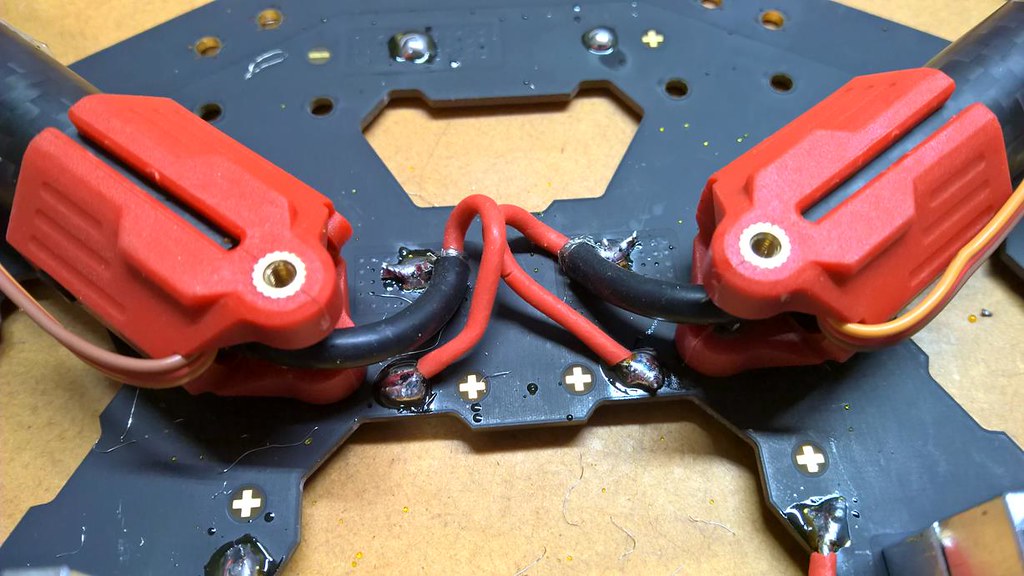
So what ive done is solder the shielding/ground direct from the cable to the negative pad and used the length of the positive cable to stretch over the the positive pad. The silicon covering on the positive cable is very delicate.


Hope to have more time tonight, may actually get it mounted to the rest of the frame.


Top