Tarot 650 Build - Parts Are Arriving

AzViper

Active Member
Over in another thread there is talk of counting grams with a another first time builder. So all this what weighs this and what weighs that got me thinking I had better check my total weight from my spread sheet that I had started before my build as some items had changed for the good yet I had added a few items. I went out and bought me a Dymo digital postal scale today to find out my true weight. When I added up everything excluding the Gimbal and GoPro from my spread sheet my quad weighs 3411 grams.

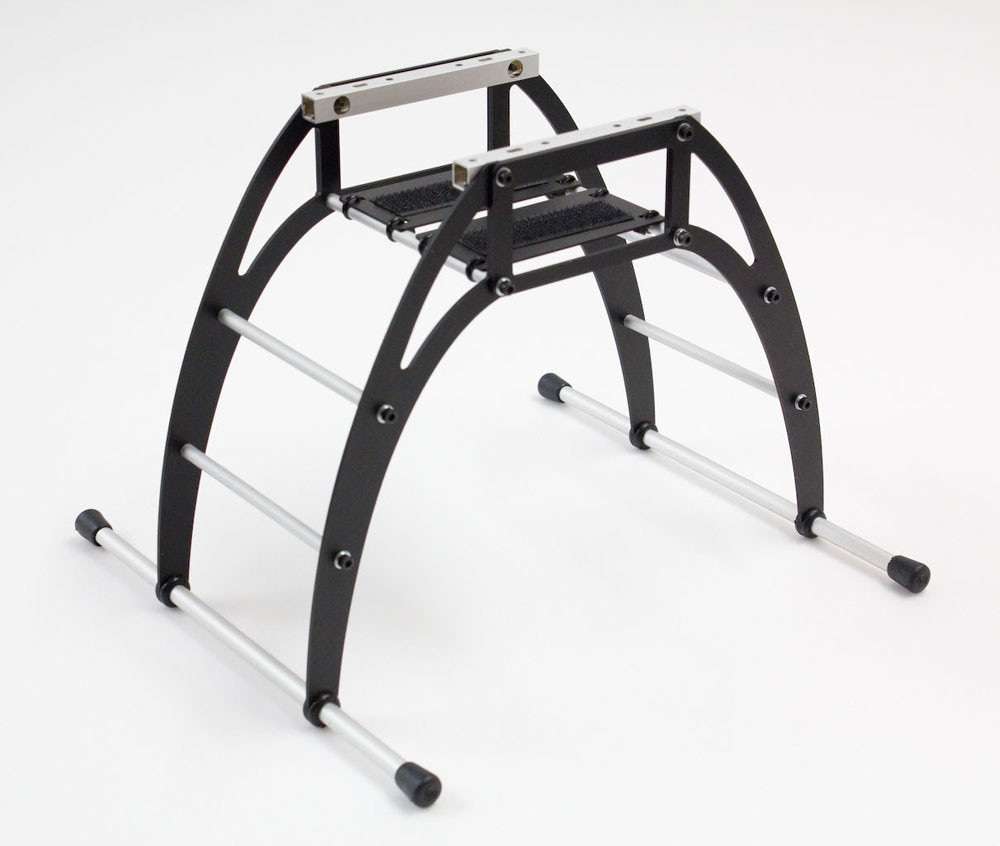
Now I did not have my extended 10mm rails, Y connector for the batteries, 20 inches of #14 silicone wire, foam under the batteries, braided loom, heat-shrink tubing, receiver antenna mount, and Velcro Straps listed in my spread sheet. When I placed the quad on the scale with everything mention excluding the DJI H3-3D Gimbal and GoPro 3+ the quad weighed in at 3458 grams. This is 47 grams over from the calculated weight due to the items in bold. I suspect these items in bold weigh more than 47 grams so some of the other items would appear to weigh less than the stated weight. With the DJI H3-3D and the GoPro 3+ the quad will tip the scale at 3720 grams plus maybe another 50 grams. My quad will be under by 670 grams under the 50% thrust of 4440 grams reported by KDE Direct.

Honestly I am shocked by how close my spread sheet was. I had figured 3685 but the items in bold were not added and with a flying weight of 3720 I am off by 35 grams. Now that 670 grams will be eaten up with some of the other gear for FPV and Telemetry. With 15x5 props I have room for adjustment as I can go bigger and gain more thrust if needed.
 
Last edited by a moderator:


AzViper

Active Member
I completely remounted the ESC's as shown below. What you see in this photo are the heat sinks. The foam on the bottom side of the ESC's that is encased in the heat shrink is for vibration. I would have thought the heatsinks would be more visible.

VfT1Sd.jpg
 
Last edited by a moderator:

talunceford

Member
Yeah, maybe have them mounted with foam on the bottom, but not on the top? Being in the electronics industry, heat is something that I try to avoid LOL! Yeah mounting might be a bit of an issue, but it might be just as simple as making sure the heatsink is un-obstructed and not covered.
 

talunceford

Member
Weird. Well I guess they know more about the heat exchange that we do LOL! Maybe it transfers through the foam well enough to not worry about. Still, the install is looking stellar.
 

SJBrit

Member
My ESCs are mounted in a similar spot but they are just taped down with 3M VHB tape. They don't get hot at all.


AzViper

Active Member
Hi Adrain,

Thanks for chiming in as I was wondering what you used. I am not happy with the Velcro and foam.
 

SJBrit

Member
Scotch Extreme Mounting Tape is pretty good stuff too - you can get it from Lowes. It's an inch wide - perfect for ESCs. It has a very good bond and just enough padding to take up some vibration. I use it for mounting electronics, and VHB tape for anything mechanical, like the GPS mast.
 

AzViper

Active Member

The Naza is mounted dead center of the quad just as the GPS antenna.

8eRBXM.jpg


Making use of the braided loom on nearly every wire. This to help protect the wires on the carbon fiber.

sFGZdC.jpg


Wq6Sak.jpg

 
Last edited by a moderator:

SJBrit

Member
Looking good. You can also braid the ESC wires together (both sides). It makes them easier to manage, uses up some excess length, and cuts down on EMI.
 

AzViper

Active Member
Looking good. You can also braid the ESC wires together (both sides). It makes them easier to manage, uses up some excess length, and cuts down on EMI.

The braiding was already in the works. I will use the the braided loom to protect the braid wires.
 

AzViper

Active Member
It’s going to be a miracle if I get the quad in the air. I did not like the landing gear from the beginning. It’s about as cheap as you can get, shame on Tarot. Granted the quad is being used for greater weight than it to be used for, but even if I had kept within the spec’s a hard landing would break the gear. Here is the new landing gear that will be mounted to the bottom.

hB66n2.jpg


So here I am, I have completely disassembled the quad moving my top center plate to the bottom so that I can mount the landing gear pictured above. This will also change my plan to use a 3 axis gimbal. I needed a gear that was more ridged and this gear looks to support what I am after. The gear will easily mount to the bottom of the Tarot.

y6fp1V.jpg


I was still able to keep the carbon fiber 10mm rail tubes mounted in the same position sandwiched between the two carbon fiber plates.

nkAUxT.jpg


External XJT Module.

Nam6m4.jpg


Some of the radio programing is down and wav files installed. Thanks to talunceford here in the forums for providing me with the files to make this happen, thanks Tim.

 
Last edited by a moderator:

talunceford

Member
Glad everything is working out for the best for you Keith. I've since made a few changes to the my own Taranis, and probably need to make an update to the video. Since I moved the gimbal control over to the Taranis, I've made a few programming changes and everything seems to be working out great. I am still working on getting my camera control working the way it should. I received my HDMI to av converter board and had to make up a usb power cable to power it, as, from my understanding, the HDMI on my camera doesn't have enough power to power up the converter board. Soooooo.... I have the USB power cord being powered off of the receiver power and it works like a champ. I will post a video of everything over on my build page so you can take a looksee...

Again, it is my pleasure to help.

Tim
 

AzViper

Active Member
The new landing gear will be here on Thursday and just maybe I will get a chance to install the gear and get moving forward on finishing the Tarot. Binding the transmitter to the receiver I had to play within the Naza Assistant to see if everything worked.


I feel fortunate to have found this landing gear as I had been looking for a few months at different landing gear. Had emailed a number of companies and getting very few replies. I racked that up to dealing with companies in China, they just don’t seem very helpful or the products had been discontinued. This gear can handle up to 20kg's of pressure without issues.

I will also be able to redistribute batteries, LED's, receiver, antenna's, FPV gear, etc to other areas of the landing gear due to all the areas within the gear to mount items.

kOOEn8.jpg
 

TechBill

Member
The new landing gear will be here on Thursday and just maybe I will get a chance to install the gear and get moving forward on finishing the Tarot. Binding the transmitter to the receiver I had to play within the Naza Assistant to see if everything worked.


I feel fortunate to have found this landing gear as I had been looking for a few months at different landing gear. Had emailed a number of companies and getting very few replies. I racked that up to dealing with companies in China, they just don’t seem very helpful or the products had been discontinued. This gear can handle up to 20kg's of pressure without issues.

I will also be able to redistribute batteries, LED's, receiver, antenna's, FPV gear, etc to other areas of the landing gear due to all the areas within the gear to mount items.

Nice landing gear!

Would you share where you get that landing gear from?

Thank you

Bill


AzViper

Active Member
As expected when buying within the USA arrival of gear for the most part is on time. I assembled the gear last night and mounted to the frame this morning.
R9ZlrH.jpg


Still playing with ideas as to where I want to mount the everything. The rear battery will stay and I am 90 percent sure the second battery will stay in this location.
Vdc4OZ.jpg


The landing gear gives me many options to mount the electronics. I decided to mount the receiver and antennas low on the gear so that the antennas have a clear shout down to the transmitter. Because I am using SBUS this appears to be a logical choice.
UPo52c.jpg


Very easy to assemble even though QuadFrames did not provide any instructions. A simple look at photos says it all on assembling the gear. I position the gear on the carbon fiber bottom plate and secure the gear with aluminum tape so that I could drill the holes to mount the gear.
GFyQlN.jpg


I am not 100% on the placement of the electronics and FPV gear. Waiting on the FPV gear to arrive and then will move forward.
V7OE84.jpg


The landing gear is a huge improvement over the stock gear. Appears to be strong in supporting the weight of the quad.
 
Last edited by a moderator:

AzViper

Active Member
Tim & Adrian,

Any advantages of extending the GPS mast to get the GPS antenna higher and further from the electronics and the rotation of the motors? Not to mention burn up some of the length of the GPS cable. The Taranis receiver and antenna are not mounted on the Naza level and future FPV will be mounted on either then side of the landing gear away from the Naza gear.

Just being very cautious as I do not want any issues on first flight. What about gains to start with? After watching this video it makes sense to keep all the motor gains the same so the motors are not fighting each other.


Now in this video Bart of Multirotor Forums explains setting up the GPS to point to magnetic NORTH. Here in Tucson, Arizona magnetic north is to the right of true north.


Using this link, http://www.ngdc.noaa.gov/geomag-web/#declination magnetic north for me is about 10 degrees right of true north for my area. In reading the Naza manual it says to point the GPS straight out the front of the quad. Maybe Bart can chime in and comment on this.

ml0KGd.jpg
 
Last edited by a moderator:

Top