Scratchbuilt Quadrotor

Toymaker

Crashologist
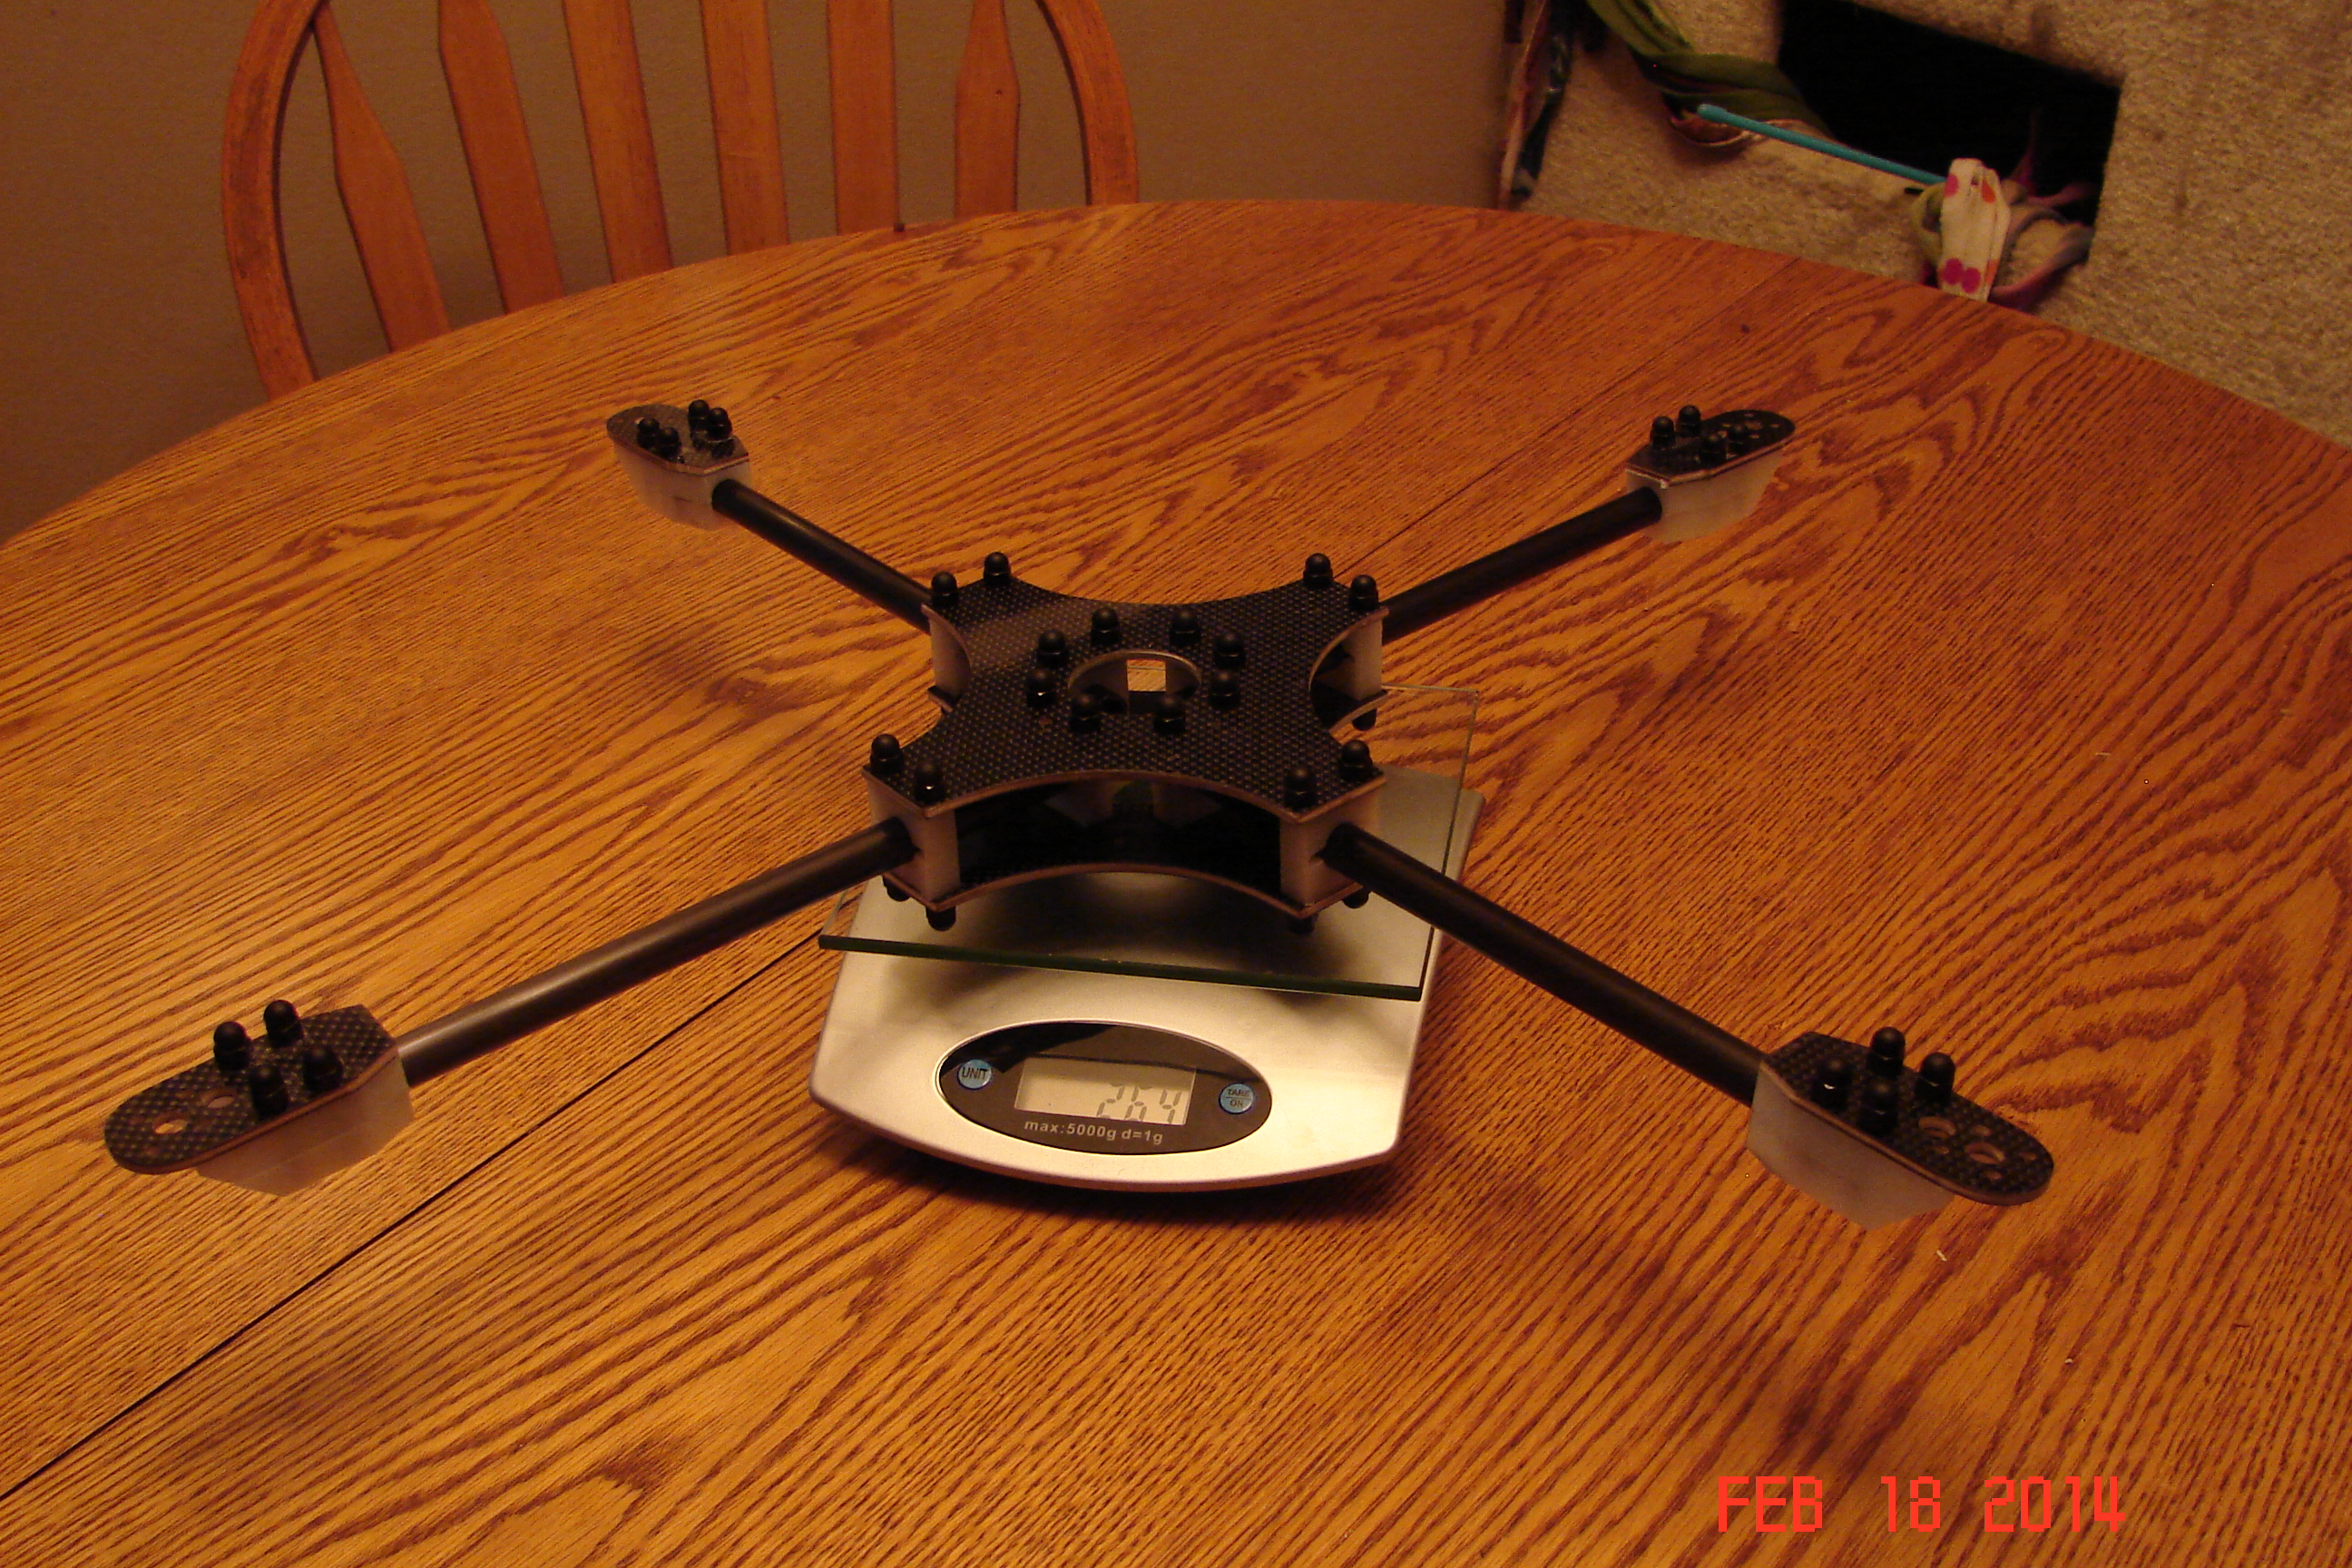
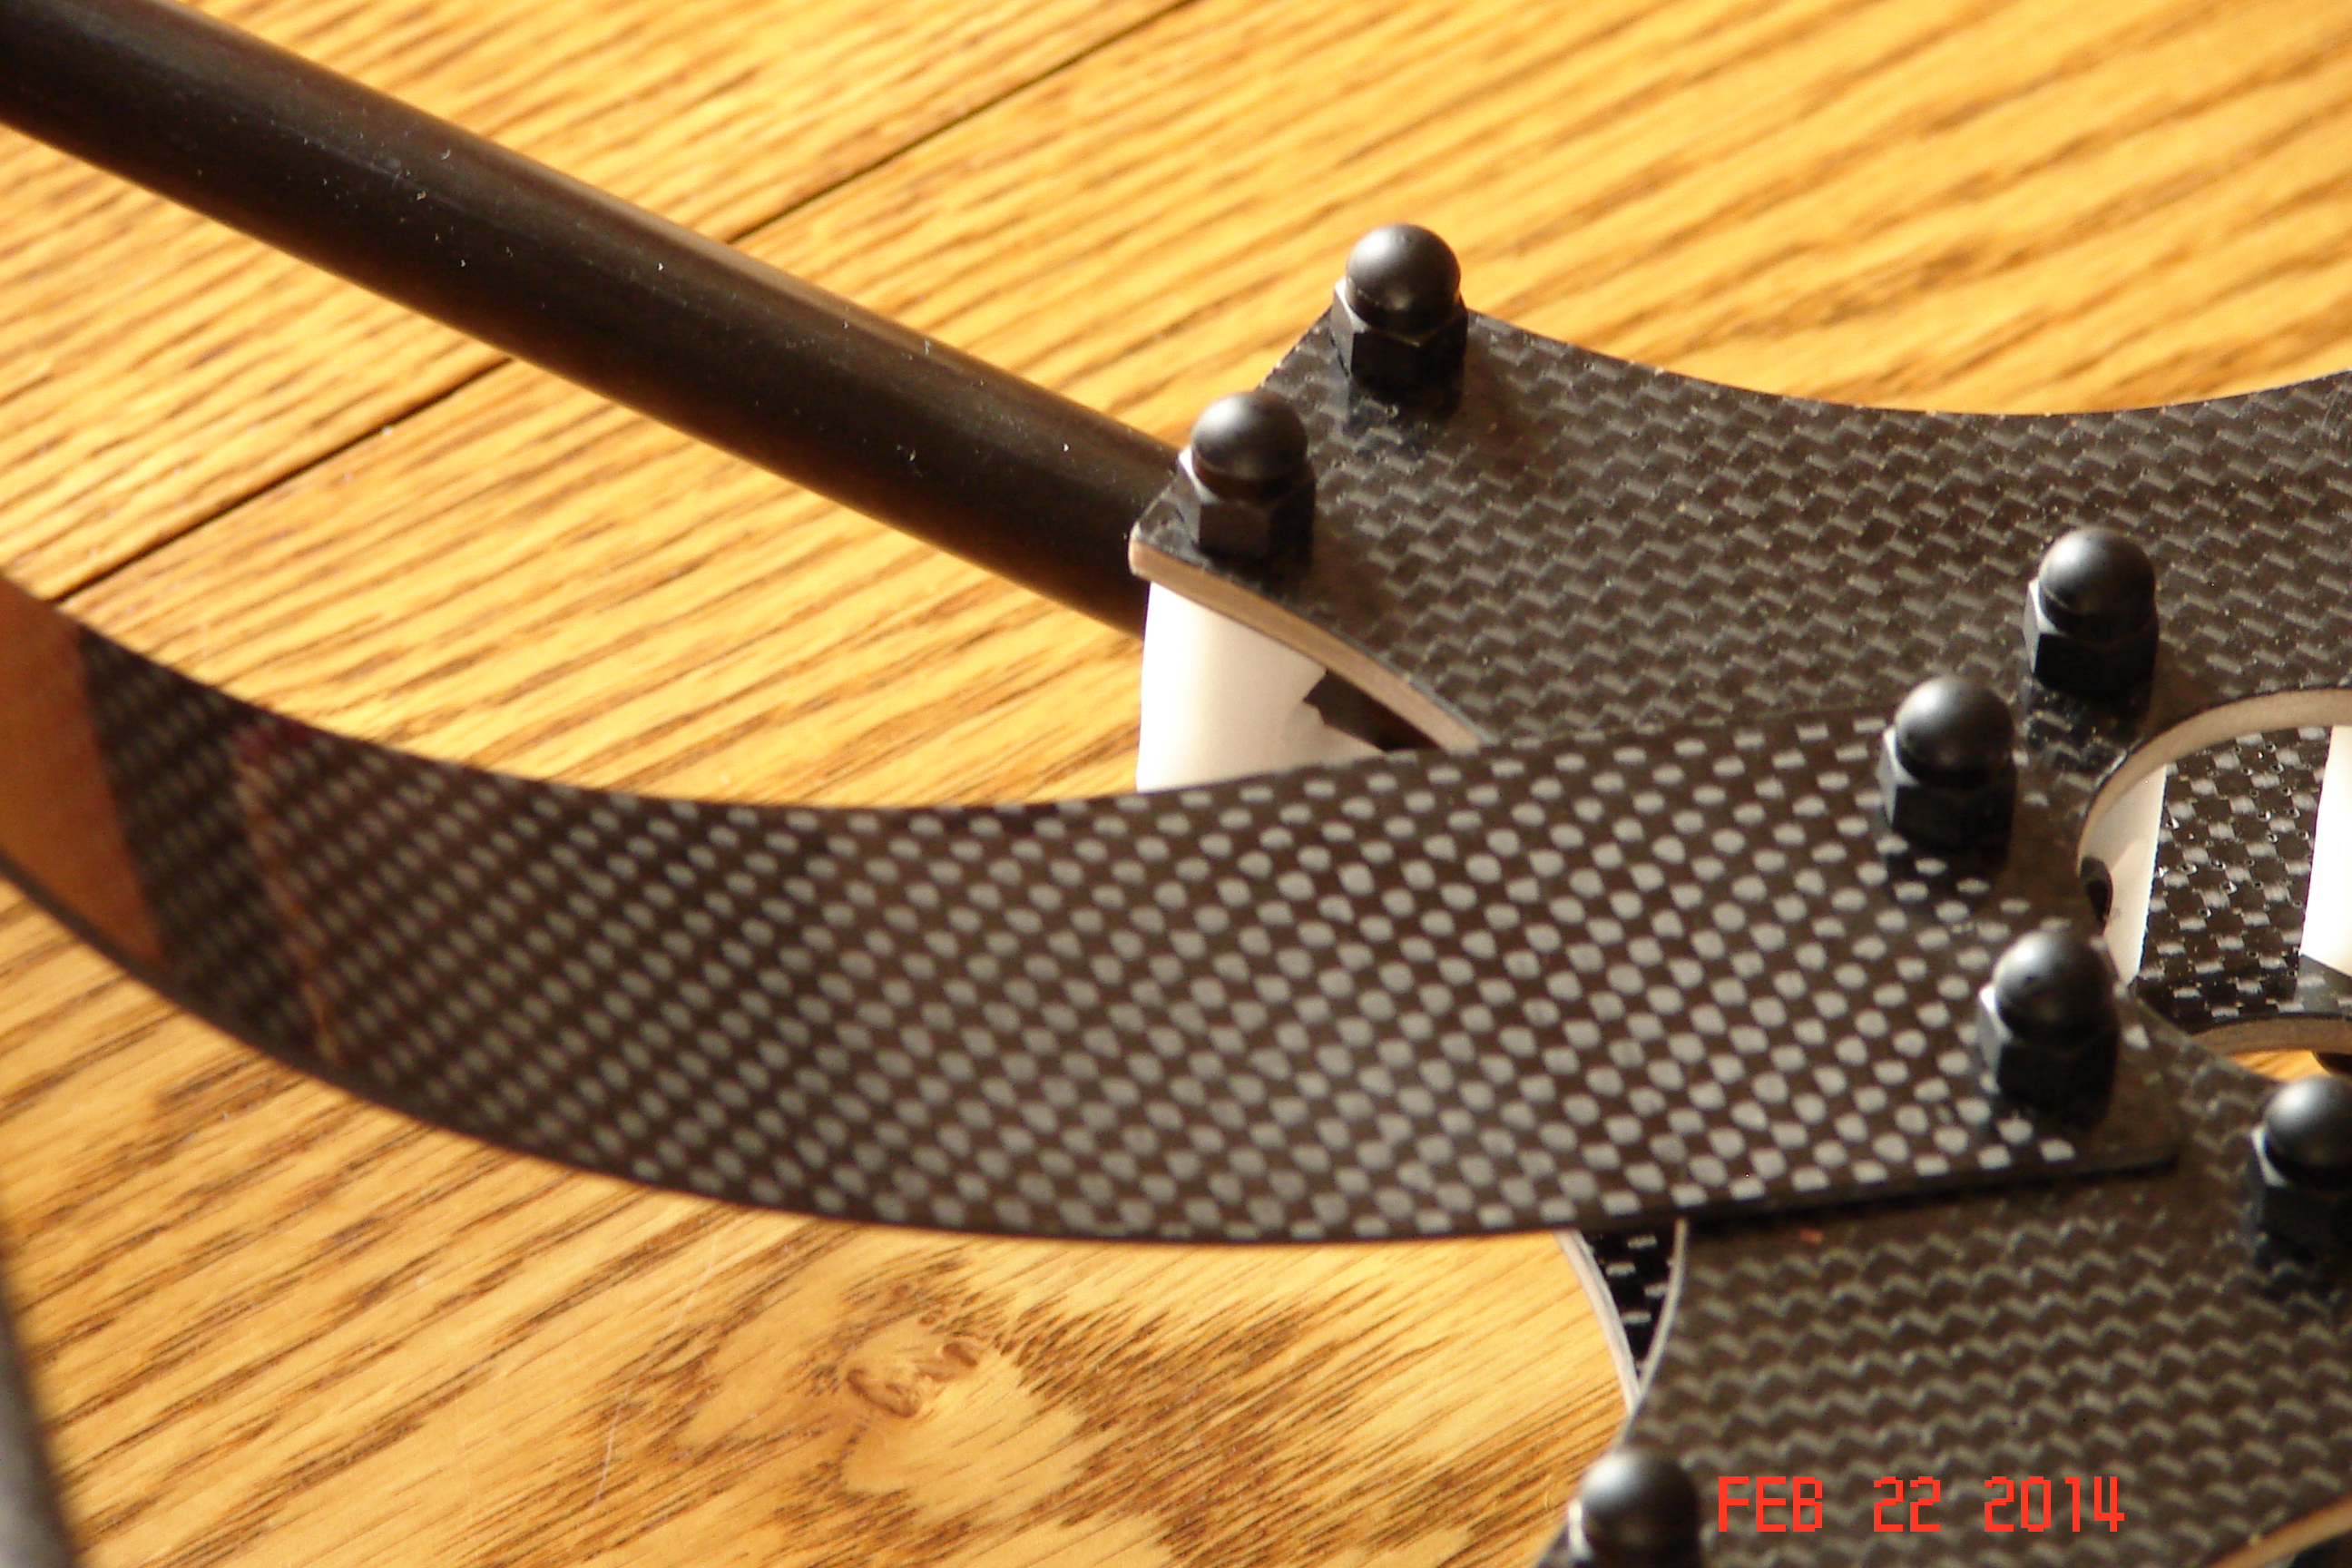
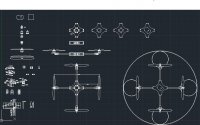
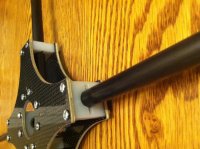
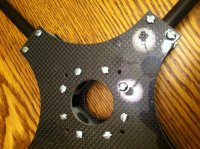
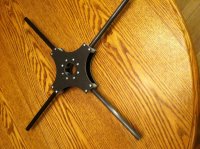
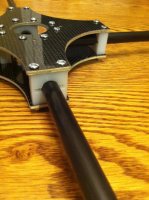
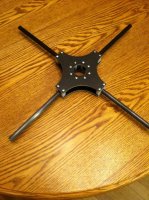
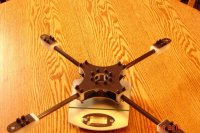
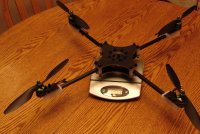
I'm new to the forum but I have building and designing stuff for a while, about 35 years. This is my first attempt at a Quadrotor. After researching frame / motor/ prop sizes I decided I'd give it a go. I started out designing it in Autocad on my laptop while watching tv one night. This turned into several nights and more and more detail.I've been trying to keep it light and strong. Normally those are polar opposites, so I've been working on using light weight and strong materials. I also have access to a machine shop at work so I can work on stuff at lunch or after work. So far things have been coming together nicely. When it's done it will be a 500mm quad X.
View attachment 16278
 

Attachments

  • QuadcopterDWG.JPG
    QuadcopterDWG.JPG
    76.3 KB · Views: 371

Toymaker

Crashologist
With the frame being 500 mm is that too big? I have 5" space between the prop tips. At this point I am looking for something a little more stable than agile. Shortening the arms is no big deal at all I just don't want to make it a hand full to fly. Any insight here would be appreciated. I am also wondering, since this is a new design what are the anticipated weights for 450mm and 500mm frame sizes? All I've been able to find is "keep it light" quotes. I haven't found a good weight range for 450mmm or 500mm frames. I have lots of places to trim weight but I'd like to keep the material there for strength if I can.
 

Toymaker

Crashologist
I've taken a few pictures of my progress so far.
This one is a good shot of the compression blocks that hold the 1/2" carbon tube in place. There are inner and outer blocks on each tube. They are machined from UHMW Polyethylene. The stuff is super easy to machine and clamps down nicely on the tubing without crushing it. It's also lighter than aluminum. In this picture everthing is held together with steel screws and nuts (quite heavy). The top and bottom plates are 3/32 aircraft plywood with a single layer of 5 oz carbon fabric on each side. I had a bit of a learning curve with the carbon layup. I first used waxed paper, on top of glass instead of mold release. the finish was terrible. I also used hobby epoxy which was much too thick and kicked off too quick. The next trial I used laminating epoxy with slower hardener. I also used auto wax and a single coat of PVA mold release on thin glass. The epoxy stuck to the glass and I couldn't get it off without breaking it into a bazillion shards. The plate turned out great even though the glass broke. The last try was don with thin styrene sheet, waxed, and coated with 2 coats of PVA mold release. This turned out the best and came out of the mold effortlessly. In all cases I clamped the "molds" between two sections of particle board, using c clamps.
View attachment 16283
This picture shows all 4 arms in the blocks.
View attachment 16284
 

Attachments

  • Quadcopter2.jpg
    Quadcopter2.jpg
    147.4 KB · Views: 407
  • Quadcopter3.jpg
    Quadcopter3.jpg
    148 KB · Views: 274
  • Quadcopter4.jpg
    Quadcopter4.jpg
    149.9 KB · Views: 287
  • Quadcopter2.jpg
    Quadcopter2.jpg
    147 KB · Views: 287
  • Quadcopter4.jpg
    Quadcopter4.jpg
    149.8 KB · Views: 281

Motopreserve

Drone Enthusiast
That's some fine looking work! Tough call on the weight. Although generic, the goal really is to get as light as possible so you can stack more stuff on it. There are plenty of quads out there in your size range. Maybe just compare and contrast with them.

It looks like you used 2 boom clamps for each. Is that correct? 1 inner and 1 outer clamp for each boom? That's something new - I've only seen single clamps on the outer edge of the frame. I could see that holding it securely - but also might make the boom longer than the other option, adding weight?

kudos for making your own glass plates. I plan on building a scratch-built soon too - but just planned on buying some G10 from mcmaster.

Keep us posted on the progress. Looks great!

scott
 

Toymaker

Crashologist
Thanks for the reply Scott, there are two blocks each because the tubes don't go all the way through. I wanted to do that so I could run the wiring to the motors and lights through the tubes from the center. I'm kind of obsessive compulsive when it comes to wiring so I make an effort to keep things clean looking. Hopefully it will turn out good.
 

Toymaker

Crashologist
So far for weight I'm at 285 grams for the frame with motor mounts. I plan on trimming about 6-8 more out of the motor mounts by design. I haven't had enough time on the mill to finish them up, maybe tomorrow. I changed all the steel hardware to aluminum and nylon. I used 6-32 aluminum threaded rod and nylon acorn nuts. This combo although looking bulky is 1/2 the weight of steel screws and steel nuts. They also provide adequate force without over-torquing the nuts.
View attachment 16286
 

Attachments

  • QuadScale.jpg
    QuadScale.jpg
    152.7 KB · Views: 299

Motopreserve

Drone Enthusiast
The design I was thinking about (Cinetank) doesn't use through arms either - but only has them into the body about the distance of your two mounts put together (their mount blocks are more square). At the weight you're working with for a 500mm frame - you should have nothing to worry about. I think your system may provide more rigidity anyway. The only other reason besides weight for the shorter arms is if it opened up room for the ESCs inside there. Maybe they fit already?

That's quite light as-is. If you needed to save weight you could probably tap the mounts, no? Will that plastic take a tap?

Will you you have another plate above to stack FC etc?

do you have an idea about motors, prop size etc?
 
Last edited by a moderator:

Toymaker

Crashologist
I'm on a self imposed budget. I have another hobby sucking my wallet dry... So I'm using 10-4.5 props with 935kv Multistar motors , a Witespy MultiWiiPro 2, F20a SimonK RapidESC's. I also have some 3s 3300 Lipos for one of my planes so I'm starting with those.
View attachment 16287[h=1][/h]
 

Attachments

  • DSC02600.jpg
    DSC02600.jpg
    149.5 KB · Views: 339

Motopreserve

Drone Enthusiast
This hobby (like most) can suck the wallet dry - but there are places where you can save some money. Shop wisely and you will either A) find good deals or B) find other stuff you didn't even know you wanted - sending the budget out the window :)

looks ls like you're off to a good start though.


Toymaker

Crashologist
I got a little time at lunch today to finish up the machining on the motor mounts. It also shaved a bit more weight off :) It feels light enough to me. A lot lighter than one of my combat wings..I have nothing else to compare it to..LOL

FrameWeight.JPG
 
Last edited by a moderator:

Toymaker

Crashologist
The motor mounts are UHMW Polyethylene like the blocks in the center holding the tubes. They are about .015 shy of 1/2" int the vertical dimension. The mounts are three pieces so they clamp on to the tubing. They clamp quite tight, as hoped...
The top piece is made from leftover pieces of the main plates. It is 3/32" plywood with a single layer of 5 oz carbon fiber cloth on each side. There is a center hole for the motor shaft and clip to rotate cleanly. The other hole is for the motor wiring to duck through the plate and into the tubing for a clean look. I also plan on running wiring for LED's through the tubing also.
DSC02603.jpg

DSC02607.jpg


Toymaker

Crashologist
I picked up some .404 CF tube from the Kite shop on Thursday and decided since I'm waiting for electronics to be shipped I get started on some landing gear. I molded up a set of arms with 3 layers of 5oz. CF fabric. They are way too thin a flexible. So I made another set that is 7 layers with the outer two oriented longitudinally and the rest at 45°. This seems to be just about right. I cut sanded drilled and mounted them. I CA'd the arms into slots in the tubing. I'm hoping they hold up awhile. They are very flexible and very wide stance to hopefully keep me from killing too many props.
FrameWGear.JPG
 

Toymaker

Crashologist
I only mounted them with two screws for now and may put a third later. For the mold on this I used a 4X4 cut into the profile I was looking for. I sanded the surfaces smooth. Then I used a couple strips cut from a smooth and still shiny 5 gallon bucket. I covered the 4x4 with the plastic. Then I did a 7 layer build up of 5 oz CF cloth. To squeeze the mold I just used 4 C clamps. I also warmed the whole thing up with a 130 watt clamp light. It worked quite well. I'm happy with the results. The only thing I can see being a potential problem is the tube to arm glue joint. I may add some CF tow and some small slots in the arm to more or less bind the tube to the arms.

LandingGearBot.JPG
 
Last edited by a moderator:


t smith

Member
Get back in the garage, you're killing me, and take more pictures! You obviously have the gift of vision and the skills to bring it all together.

Some two part epoxy may work for the tube to arm joint? I've amazing results with that stuff.
 

Motopreserve

Drone Enthusiast
Really impressed with the design and the attention to detail. Keep it up - you're heading toward a very cool, original quad.

How hard is it to get into carbon fiber work?
 

Top