ProPilotWannaBe
Member
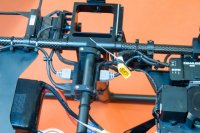
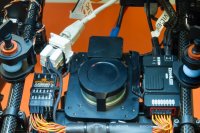
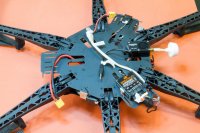
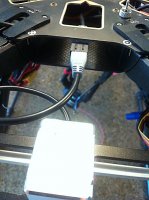
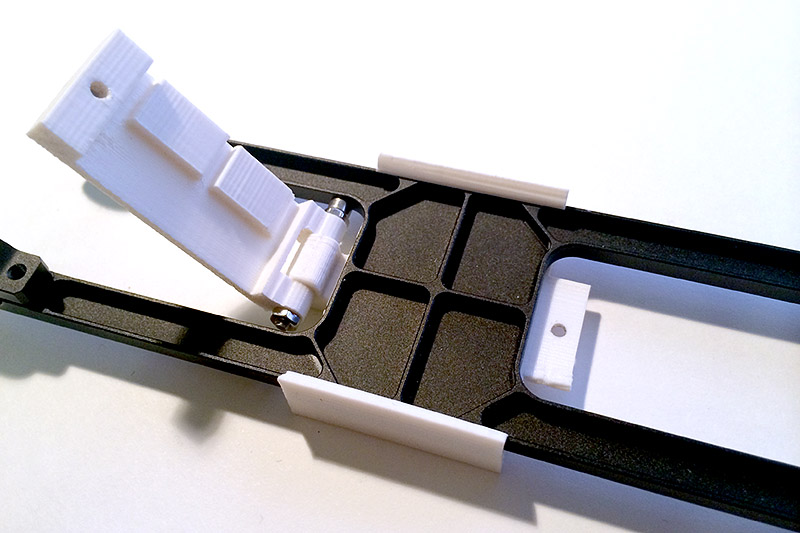
As we all know, the IMU mount on an S800 with the anti-vibe kit means the taking apart the S800 isn't as easy if you glue/tape IMU on the tray as recommended. In my case I mounted the MC on top of the S800 and now unplug the IMU cable... but it is loosening that connection.
Has anybody explored options for easy attach and removal from the tray?
What would you guys think if the IMU was stripped securely to the tray? Such as maybe using zip ties? Or a Velcro strap (definitely not Velcro under the IMU because of the squish factor, but just strapping it down)? Other ideas?
")