Webheadfred
Air Traffic Controller
Greetings all...
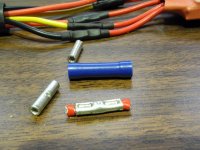
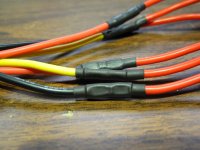
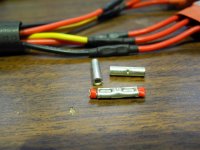
After a short little hiatus, I'm off on another build and I have a question. I know you can program the throttle endpoints on the ESC using the HoverFly Pro after you've used the client and properly set the throttle there. Can I also program the ESC's using the throttle and program all of them at once while they're connected? It seems as I've somehow smoked my Turnigy programmer and I'm manually doing each one when this occurred to me. I've soldered each ESC to the Avroto (a HUGE improvement over the RCTimer3536-11) and I'm testing the rotation direction and programming the ESC at that time before I assemble the X8. Just wondering if anyone has tried this.
Best Regards,
Fred