kokamintti
Member
Hello all of you out there!
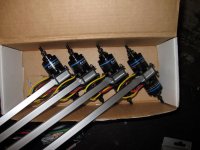
I was the lucky one to win the "Beyond the Hover" -contest organized by Multirotor Forums and Monto RC. Prize was six Avroto 2814 short shaft motors.
EDIT: original thread: http://www.multirotorforums.com/sho...*-Motors-Contest-Giveaway!!-Beyond-the-hover!
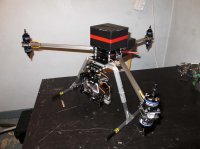
I wanted to build a Y6 multicopter, my second one. I started flying multicopters this summer and the first one I built was mainly for to practise flying.
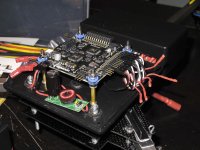
The build isn't finished yet, some 30 hrs of building and planning so far. FC is HF pro and I just heard the Navi board is on its way to Finland now.
View attachment 1105
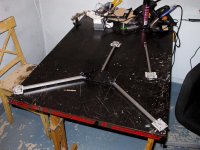
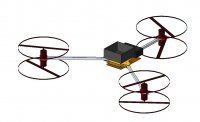
Here's the original plan. I haven't drawn the landing gear 'cos they are finished allready. More or less.
View attachment 1107
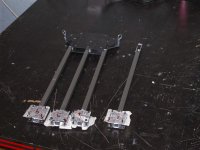
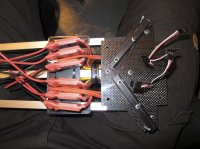
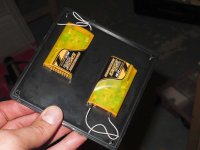
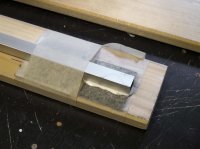
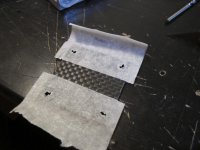
Motor plates are glued with elastic (silicone?) glue to damp at least some of the vibrations.
View attachment 1109
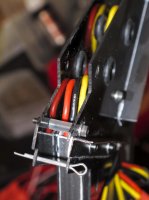
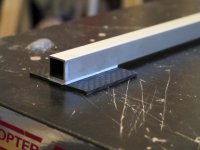
Marking tape to border the glue and peel of the excess
View attachment 1106
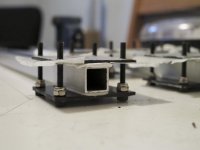
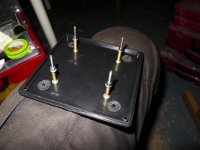
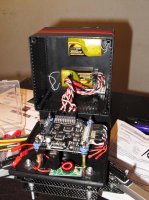
The fix to make 1mm space fot the glue between motor plate and arm.
View attachment 1108
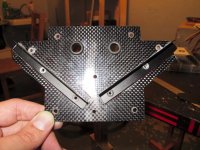
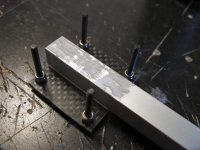
Screws are in place for glueing the opposite motor plate exactly in the right place.
I was the lucky one to win the "Beyond the Hover" -contest organized by Multirotor Forums and Monto RC. Prize was six Avroto 2814 short shaft motors.
EDIT: original thread: http://www.multirotorforums.com/sho...*-Motors-Contest-Giveaway!!-Beyond-the-hover!
I wanted to build a Y6 multicopter, my second one. I started flying multicopters this summer and the first one I built was mainly for to practise flying.
The build isn't finished yet, some 30 hrs of building and planning so far. FC is HF pro and I just heard the Navi board is on its way to Finland now.
View attachment 1105
Here's the original plan. I haven't drawn the landing gear 'cos they are finished allready. More or less.
View attachment 1107
Motor plates are glued with elastic (silicone?) glue to damp at least some of the vibrations.
View attachment 1109
Marking tape to border the glue and peel of the excess
View attachment 1106
The fix to make 1mm space fot the glue between motor plate and arm.
View attachment 1108
Screws are in place for glueing the opposite motor plate exactly in the right place.
Attachments
Last edited by a moderator: