Hi All,
After a year or so of lurking here, it’s finally time to say hello! o/
I’ve been messing around for a few years with micro helis and then the Blade MQX and Phoenix Sim. I figured that was a good way to learn the basics – I really enjoyed those MQX’s but I have to confess to being on number three now after the first couple unsuccessfully picked fights with trees, water and high winds….
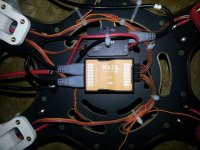
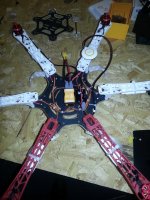
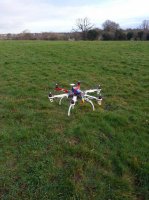
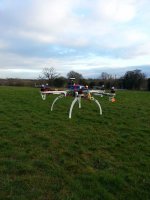
Anyway in a complete rush of blood to the head and having decided 2014 is my year, I’ve just picked up a DJI F550 combo pack to build my first ‘proper’ multirotor.
It looked like a good deal (presumably because of the new DJI products) but hopefully that isn’t going to be the first of many mistakes I’m about to make!
Like I said, it was definitely a case of rush of blood to the head and although I’m quite practical and reasonably tecchy, this is without doubt going to be a challenge!
I’m going to start another thread in the main DJI forum later today for my build and initial questions which I hope you kind people will help me with!
Hopefully I won’t ask the same questions that have been asked a million times before but sometimes, I reckon I’m just going to need some help confirming my assumptions from other threads are actually correct! In the meantime, my excitement at finally having placed my order led me back here to say hello!
Anyway, tia for having me and if anyone’s local to me (Chester, UK) and wants to meet/fly with a n00b (enticing prospect hey?) then give me a shout")
Cheers!
Paul
After a year or so of lurking here, it’s finally time to say hello! o/
I’ve been messing around for a few years with micro helis and then the Blade MQX and Phoenix Sim. I figured that was a good way to learn the basics – I really enjoyed those MQX’s but I have to confess to being on number three now after the first couple unsuccessfully picked fights with trees, water and high winds….
Anyway in a complete rush of blood to the head and having decided 2014 is my year, I’ve just picked up a DJI F550 combo pack to build my first ‘proper’ multirotor.
It looked like a good deal (presumably because of the new DJI products) but hopefully that isn’t going to be the first of many mistakes I’m about to make!
Like I said, it was definitely a case of rush of blood to the head and although I’m quite practical and reasonably tecchy, this is without doubt going to be a challenge!
I’m going to start another thread in the main DJI forum later today for my build and initial questions which I hope you kind people will help me with!
Hopefully I won’t ask the same questions that have been asked a million times before but sometimes, I reckon I’m just going to need some help confirming my assumptions from other threads are actually correct! In the meantime, my excitement at finally having placed my order led me back here to say hello!
Anyway, tia for having me and if anyone’s local to me (Chester, UK) and wants to meet/fly with a n00b (enticing prospect hey?) then give me a shout
Cheers!
Paul