Cheers for that Rob, the only problem is that i need to complete the build before the week is over otherwise my arse is grass, wife's on my case jobs she wants doing lol, so i need to find someone local.
Cheers
Rob
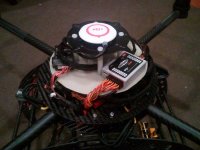
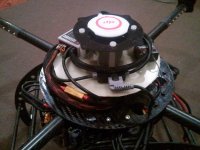
Well I finally got hold of the clear heat shrink, Just stuck a bit on the wiring up of the AV130 gimbal. If anyone could explain to me, do I take the red wires of the two servos off before I plug them into the WKM, and then the two red wires get their voltage from the U-Bec, as everything is linked to the distribution board therefore it should all be sharing the Earth, just want to be corrected if I'm doing anything wrong.
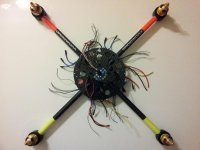
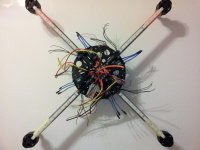
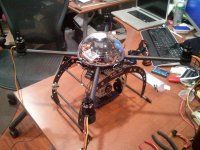
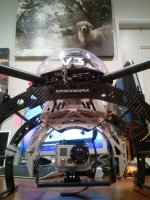
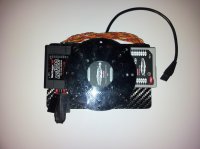
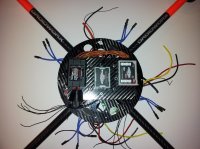
View attachment 3649View attachment 3650It looks a bit of a mess at the mo, but whan I'm trying to achieve is to have all the wiring and ESC between the two plates
View attachment 3649View attachment 3650It looks a bit of a mess at the mo, but whan I'm trying to achieve is to have all the wiring and ESC between the two plates
Cheers for that Rob, Yes it was a bit of a tight squeeze, Just had to put 2mm groove into the booms for them to fit around the d/board.
How are you getting on with your build?
Any pics Rob of your build:tennis:Almost finished. Last night I made a ton of progress.
- ESC's all programmed, calibrated and installed into frame
- Soldered Gimbal BEC to distribution board
- Soldered 4 accessory leads with JST connectors to distribution board (3 for LED's and 1 for future expansion)
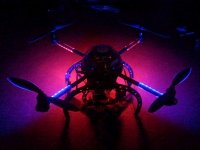
- Soldered up LED strip lights
- Added Y Harness to gimbal BEC
- Installed Spektrum TM1000 telemetry unit (voltage monitor and temp sensor on one of the ESC's)
- Disassembled my WKM from my Gaui 500x
- Reassembled the Gaui with a Naza
Only thing left is to install all the electronics (waiting for some carbon fiber mounting plates to build my stack), install LEDs (waiting on heat shrink), balance the props and clean/tidy everything up. I know my heat shrink will be here tomorrow but I have no idea when the CF plates will be here so I might have to improvise for the weekend.
The goal is to fly this weekend.
Any pics Rob of your build:tennis:
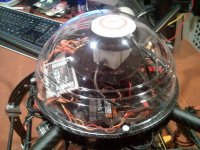
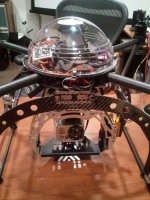
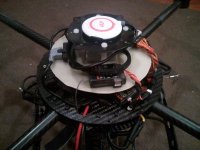
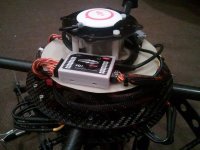
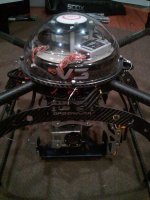
It's looking really good Rob, I do like the idea with the GPS inside the canopy, it just finishes it off. I myself thought about doing that but I've been waiting to see if anybody else comes out with the idea because i didn't know if it would work being so close to all the other electrics. I just think they look too ugly stuck outside spoiling a good looking rig.
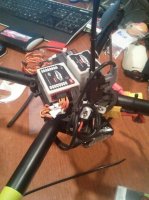
I'm just working on a plate to put the IMU, Controller and the RX together, and going to use the electric plate you get with kit to mybe put the GPS onto it. And yes the rig is not too bad to put together, but yes I do agree with you It takes a lot of time and patients to put in the final touches so I know where you're coming from. I've still got a lot of wires to rig up on mine coz I've got all the led lights to put on, so that is going to be my task for tonight. I just curious about the canopy weather to leave it clear or not, because i've seen a lot painted in black, just thought all the electrics would look nice on show, what do you think?
You are wright about the plate from the kit, the big hole is not good. I've just knocked one up to hold the IMU,Controller and RX, just making one to replace the one from kit to go on top of the standoffs for the GPS.
View attachment 3683View attachment 3684View attachment 3685
")
WOW the delay is really slow between posts. Nice one mate glad you got it sorted, what was the shaking problem?