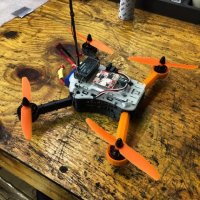
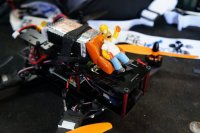
I finally had some time to work on this this week. Overall, it's a pretty simple build, there's a lot of room for the components and since there are only four motors and no gimbal it shouldn't take much time to have it up and running.
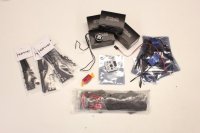
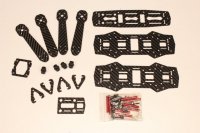
To refresh your memory, I bought the kit from GotHeliRC.com which included the frame, motors, ESC's, an OpenPilot CC3D flight controller, and props.
View attachment 23039
If you look at a lot of the racing videos out there, making it around the course isn't so much about optimizing the equipment as it is optimizing your control of the heli and learning to get around the course without wasting a lot of time. So, with that in mind, I didn't shop around for parts that would make the fastest heli, I just wanted to get this thread moving and have something I could fly and learn with. If I'm flying this thing a lot then I'll make it fast by being a better pilot and I'd recommend this approach to anyone getting started. Don't sweat every little detail, build something that will be reliable and allow you to go rip around your practice pylons. It's a spec class after all, piloting skills will get you a lot farther than any one detail in the build.
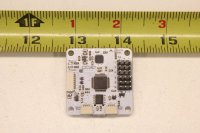
Having said that here are a few close ups of the parts being used. The flight control board is something I've got a little bit of experience with having flown a CopterControl board that came from the very first batch back when OpenPilot was just getting started. They've come a long way and the GCS looks great!
View attachment 23042
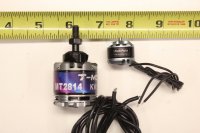
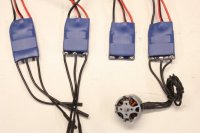
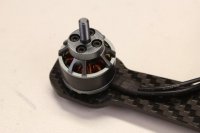
If you've built other helicopters then you'll probably find the motors impossibly small like I did when I opened the boxes. These are the iFlight 1806-2300kv, a pretty safe bet for the 250mm spec class leagues that are out there. Here is the motor lined up against a tape measure alongside a common Tiger MT2814 brushless motor.
View attachment 23040
The ESC's are 10 Amp and you'll see a lot of builders using 12 amp ESC's but 10A should be fine.
View attachment 23043
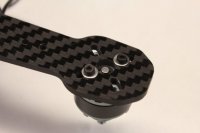
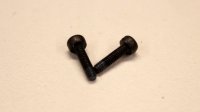
So far I think the kit is pretty complete but I've added 2.5 mm washers to the motor mounting screws (2 per motor). The screws that came with the motors were plenty long for the material that the motors are mounting to so the washers won't keep the screws from reaching up into the motor bases. I used a very small amount of Loctite on the threads by putting a small drop on one end of one screw and then spread the excess onto the end of the other screw while also working it into the threads of both screws.
Loctite will corrode some plastics and composite materials so do everything you can to keep it from getting it on those types of parts.
View attachment 23044
View attachment 23050
View attachment 23045
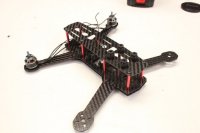
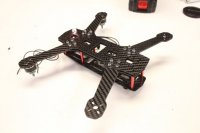
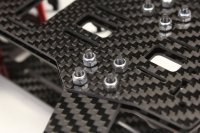
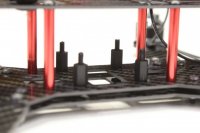
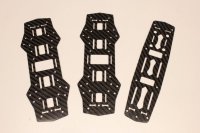
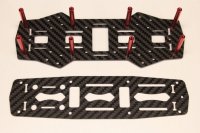
Here are a few pictures of the frame coming together. There is a little bit of planning involved so that you won't have to backtrack and take things apart after the fact to install things like the flight control mounting posts. The two bottom plates of the frame are identical and the top frame plate has a front/back. Put all of the pieces together loosely at first to make sure the holes will all line up and then go around tightening things up a little at a time.
View attachment 23051 View attachment 23052 View attachment 23048 View attachment 23049 View attachment 23047 View attachment 23046
I've got to shoot a quick video to discuss a few details and then we'll be finishing the build and getting the CC3D board all set up and ready for its maiden flight.
Thanks for reading!
Bart

